Hello! Here is our story of how we extended our tourist visa
on arrival (VOA) in Denpasar on our own. The entire process took 10 days in
total, and we report on the process as it occurred in 2018.
By Sasha_Ilona
Translated by bali.live
To extend the visa, you will need to visit the immigration centre
three times. The first visit is at your convenience, but no later than 10 days
before your visa expires. Tthe dates for the next two visits are
assigned to you by the immigration officers.
We were based in Mengwi (near
Canggu) and, following our host's recommendation, went to our nearest
immigration centre in Denpasar. Note that immigration centres cover specific
areas of residence, so it’s best to find out in advance which centre you should
go to, as you may be redirected if you go to the wrong one.
What You Need to Extend Your VOA
- Your passport (original)
- A copy of your passport (main page + visa page photocopied together on one sheet of paper)
- A copy of your return ticket (must be in printed format)
Make sure your return ticket has dates within the 30 days following your current visa's expiration. If you're traveling with others on the same ticket, ensure you have separate copies for each member of your group.
- A black pen (to fill out the applications)
Step-by-Step Instructions
1. Submit Your Documents
We visited the immigration centre on February 2, 13 days
before our visa expired.
The Denpasar centre has free parking space for both bikes and cars.
It opens at 8:00 AM Monday to Thursday and at 9:00 AM on
Fridays.
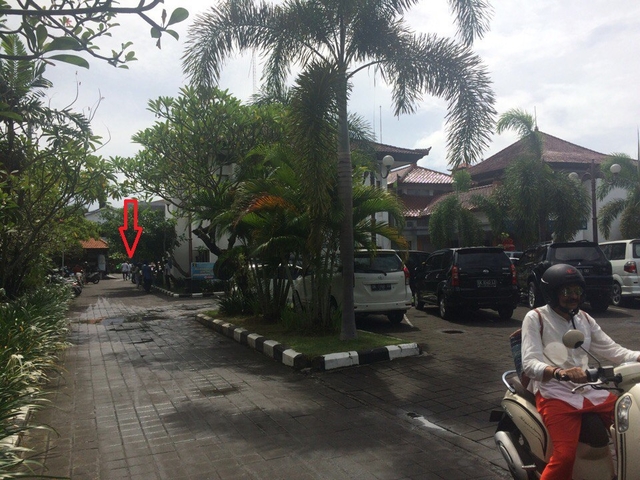
The visa department is in the second building (see photo below), and the
entrance is on the left side.
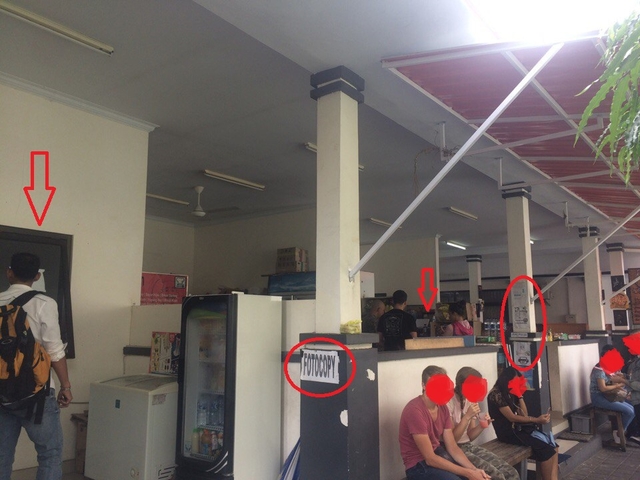
You should photocopy your documents beforehand.There is a photocopy and print shop nearby. From the entrance of the visa department, turn right and then right again to find an area (see photo below) with affordable warungs (serving breakfast), among which there is a photocopy and print shop. Note that printing is done via WhatsApp or email.
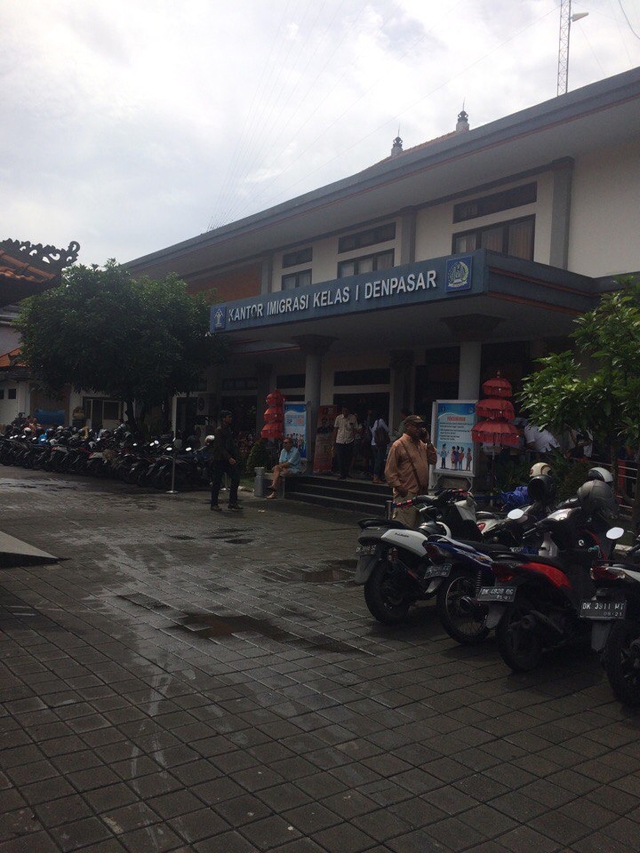
At the entrance of the visa department (see photo below), there is
usually a long line of local residents. This is not your queue. Head straight
inside and turn right. If you're unsure of where to go, ask the helpful staff.
The visa department is located on the ground floor. Enter
the building, turn immediately to the right, and walk down the corridor to the
end.
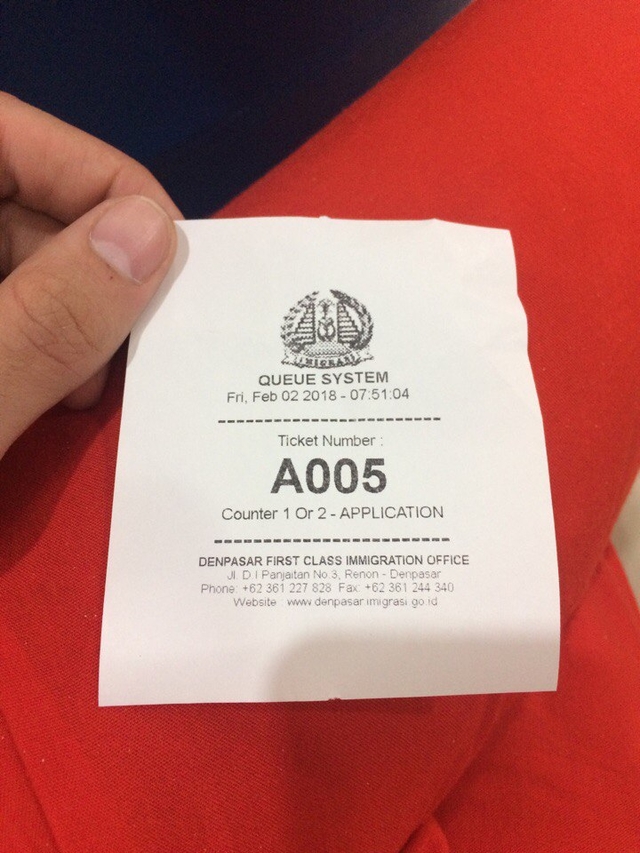
In the immigration hall, go directly to the terminal (see
the photos below) and select "APPLICATION." The terminal will issue a
ticket with an "A," indicating you are there to submit documents,
followed by numbers showing your place in the electronic queue.


The first two visits will be on a first-come, first-served
basis. We recommend arriving at 8:00 AM to get through the queue quickly; on
the day we submitted our documents, the queue behind us reached over 80
people.
Note that there is drinking water provided for your
convenience, and the toilets are nearby on the same floor.
Queue numbers are called on display (indicated by the red arrow in the photo below) and over loudspeakers in English, directing you to the counter.

Document submissions are at counters 1
and 2 (see photo below).
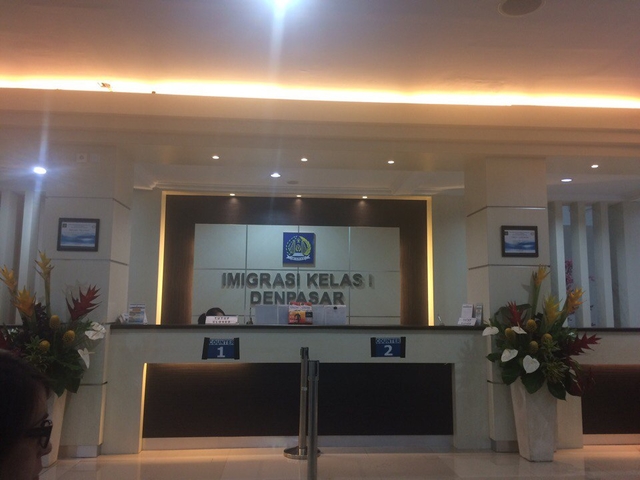
At the counter, a staff member will give you a folder (ours
was pink) containing a two-page application form. There are designated desks
where you can fill out the form. Fill it out in black pen.
- Fill out the form according to the provided sample.
- Put the completed form into the folder along with a photocopy of your passport (main page + visa page), a printout of your return ticket, and your passport.
- Sign the folder.
When finished, head straight to the same counter and return
your folder to the staff member.
They will quickly check the correctness of all the data and
ask you to wait in the hall. In our case, it was about a 5-minute wait.
They
will then call you by name. Sometimes the announcements are not very loud or
clear, so it’s best to stay within sight of the counter so the staff member can
locate you.
You will be given an invitation with the date for your second visit for photographing and fingerprinting (see photo below). Keep this for your next visit.
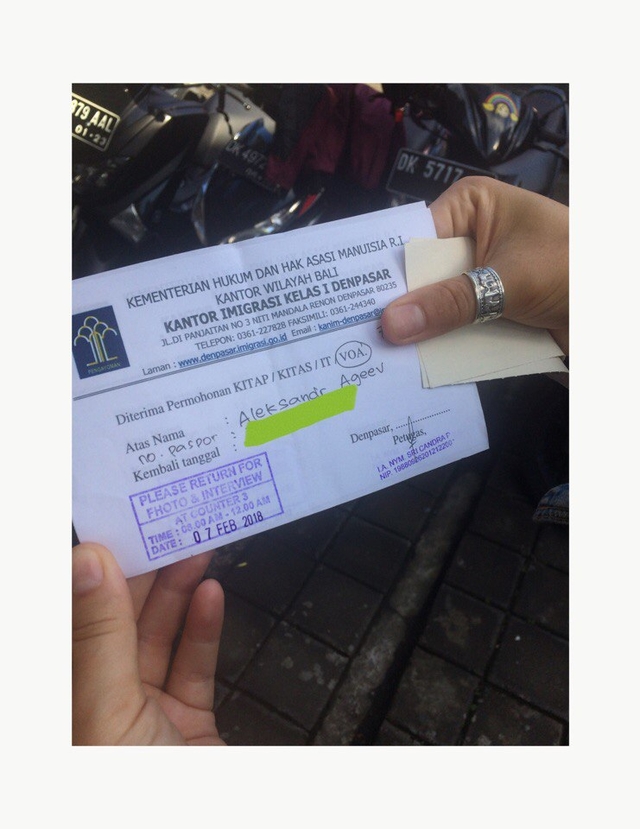
2. Fingerprinting, Photos, and Payment
Our second visit was scheduled for February 7, five days
after submitting our documents.
We arrived promptly at 8:00 AM and headed
straight to counter 3, presenting our tickets.
They gave us invoices to pay the
visa fee (check for current rates online). You pay the fee outside, directly opposite the main entrance of the visa building.
With the receipt for your payment, head back to counter 3. They
will exchange it for a C-ticket for photo and fingerprinting (see photo below).
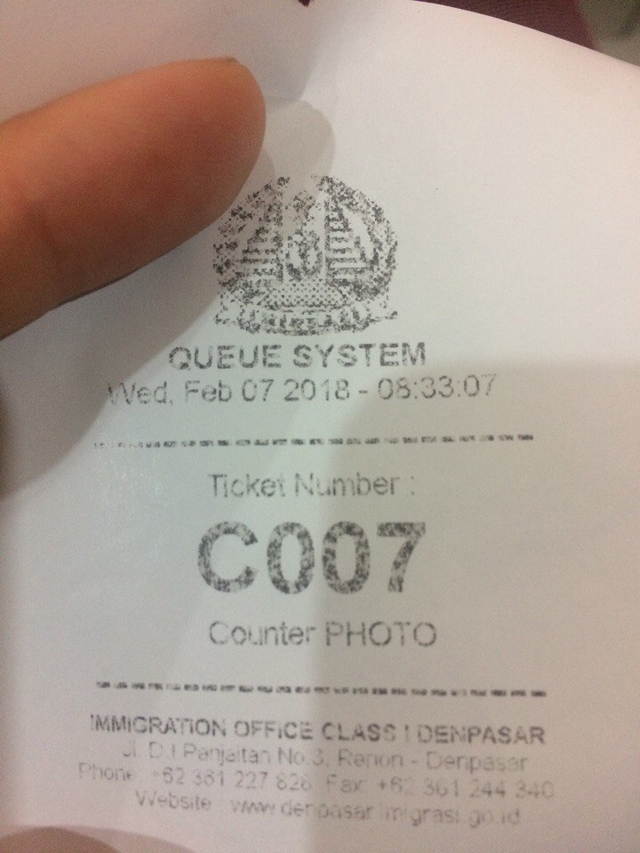
The queue for photography operates the same way as the
document submission queue: numbers are displayed on screens and announced over
speakers.
The actual process of is quick as multiple staff members work in the booth
concurrently. However, note that there could be delays due to technical issues. On the day we went, there was a 50-minute delay at the photo counter due to technical problems.
Once done, the staff member will give you a new invitation for
the third and final visit with date and time specified. Make sure to keep it
safe as you need to show it to get your passport back.
3. Collecting Your Passport with Extended Visa
Passports are collected in the afternoon, from 13:00 at the
earliest.
On arrival, head directly to counter 3 and hand over your invitation from the second visit.
You will be asked to wait seated as the staff member
retrieves your passport. You will then be summoned to collect your passport,
now stamped with your extended visa.
Extending a VOA visa is straightforward and relatively quick.
Remember to submit your documents in advance, no later than 10 days before your initial visa expires, to avoid overstay fines.
We hope this information is helpful. Wishing you all the
best!
You can add one right now!