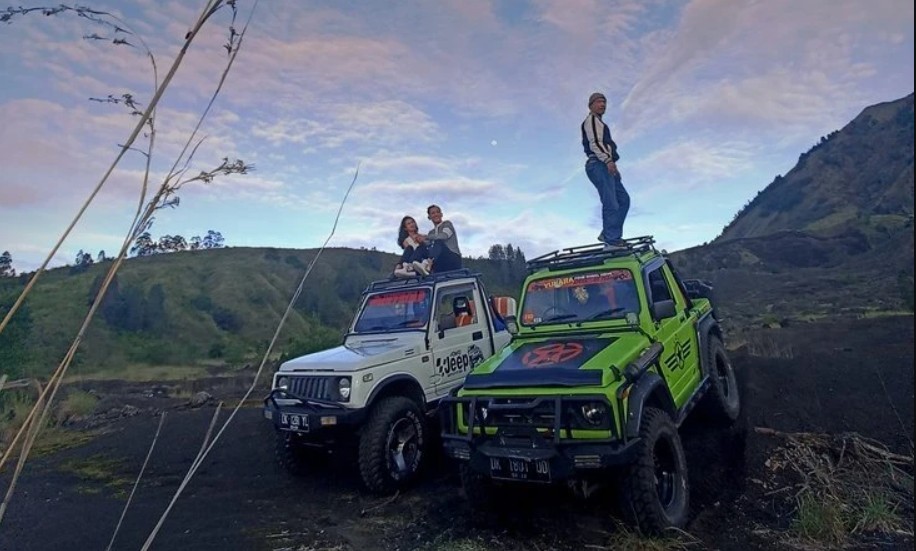
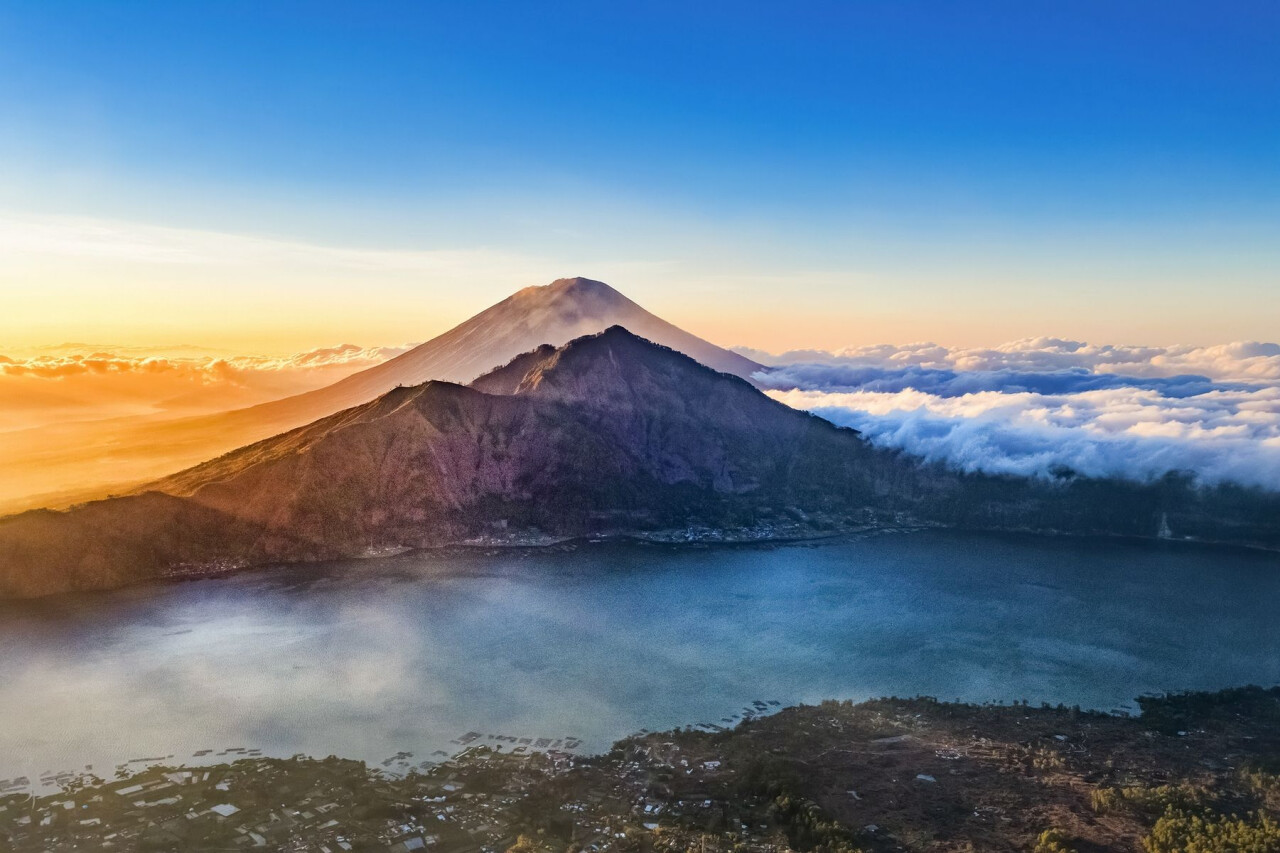
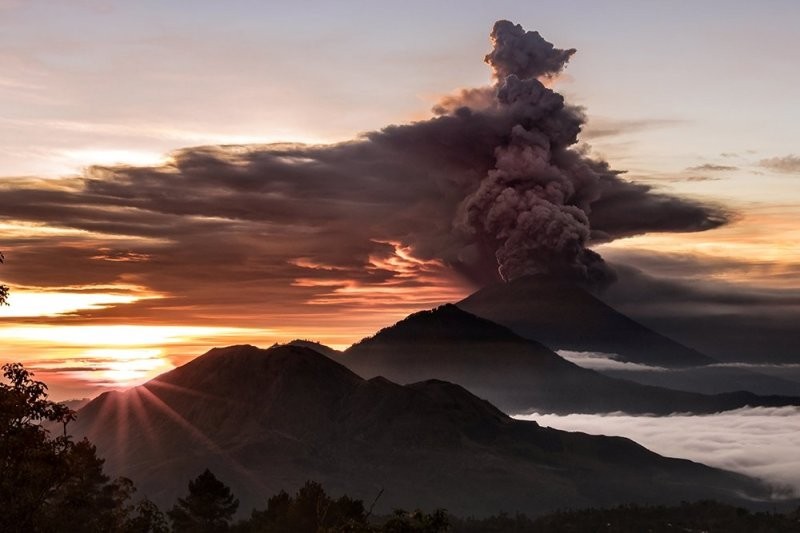
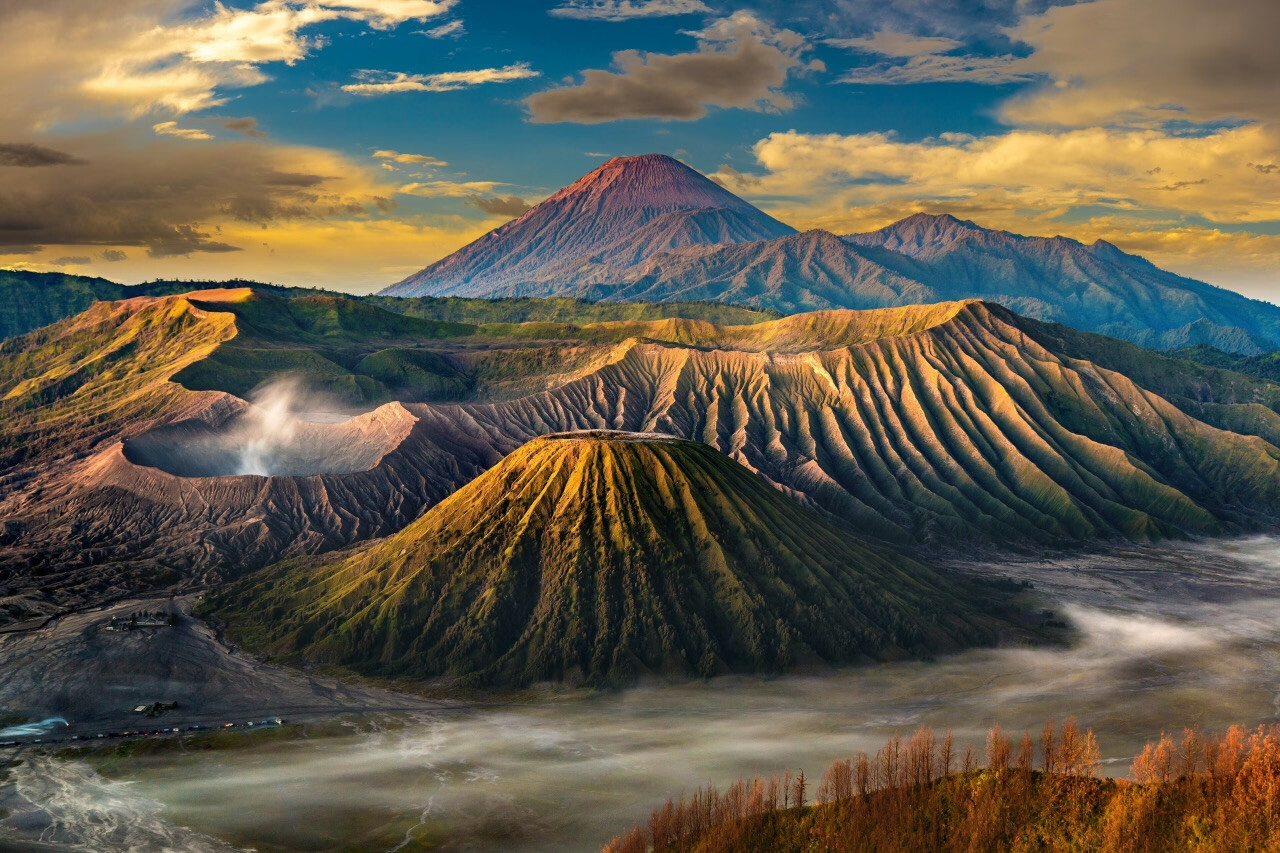
Most people who decide to hike in the mountains of Bali usually choose one of two well-trodden routes: catching sunrise on Mount Batur alongside hundreds of tourists, or climbing Mount Agung for the bravest and most determined. Of course, they’re classics, but Bali has plenty of peaks that rarely make it into guidebooks. You won’t run into crowds of guides or an endless line of headtorches in front of you. Instead, you’ll find wild jungle, ringing silence, and the feeling that the view is your personal reward for a tough ascent.

The dry season is just starting in Bali, and that’s the best time to discover what real trekking on the island is like. In this article, we share our experience of climbing mountains that usually stay in the shadow of their famous neighbours, yet offer far more in terms of emotion and connection with the island.
Important! Under the rules in force on the island, summit climbs are recommended with a certified guide. Bali’s mountains are considered sacred, so local communities and authorities strongly advise using a guide’s services. This helps you follow religious etiquette and keeps you safe on sections where trails may not be marked.
What to know about Bali’s peaks
Bali’s mountain geography is fairly compact: most peaks are concentrated around Mount Batukaru, near Bedugul, Munduk and Candikuning. The only exceptions are Batur and Abang in Kintamani, and Agung in Karangasem.
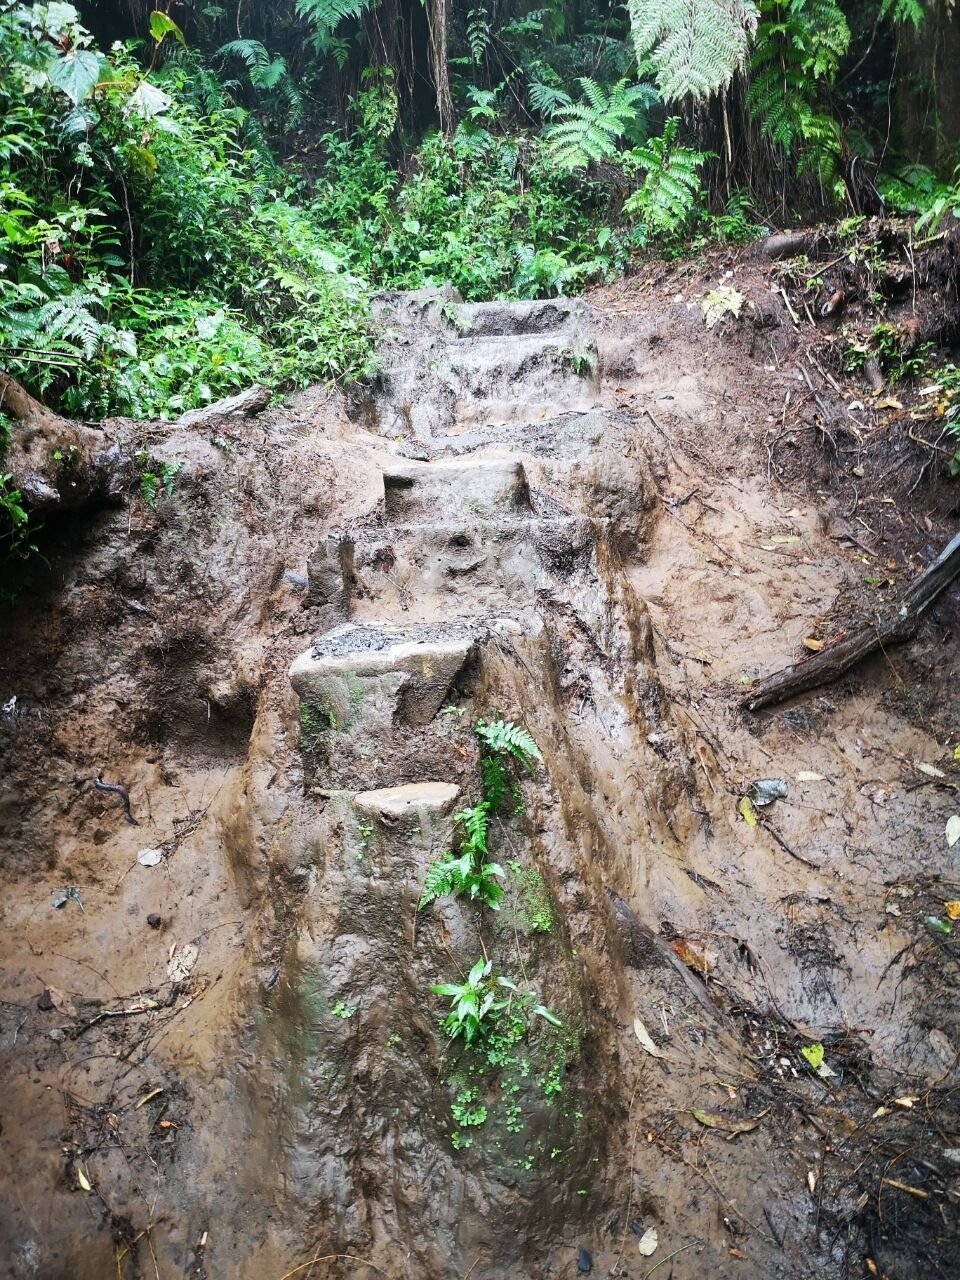
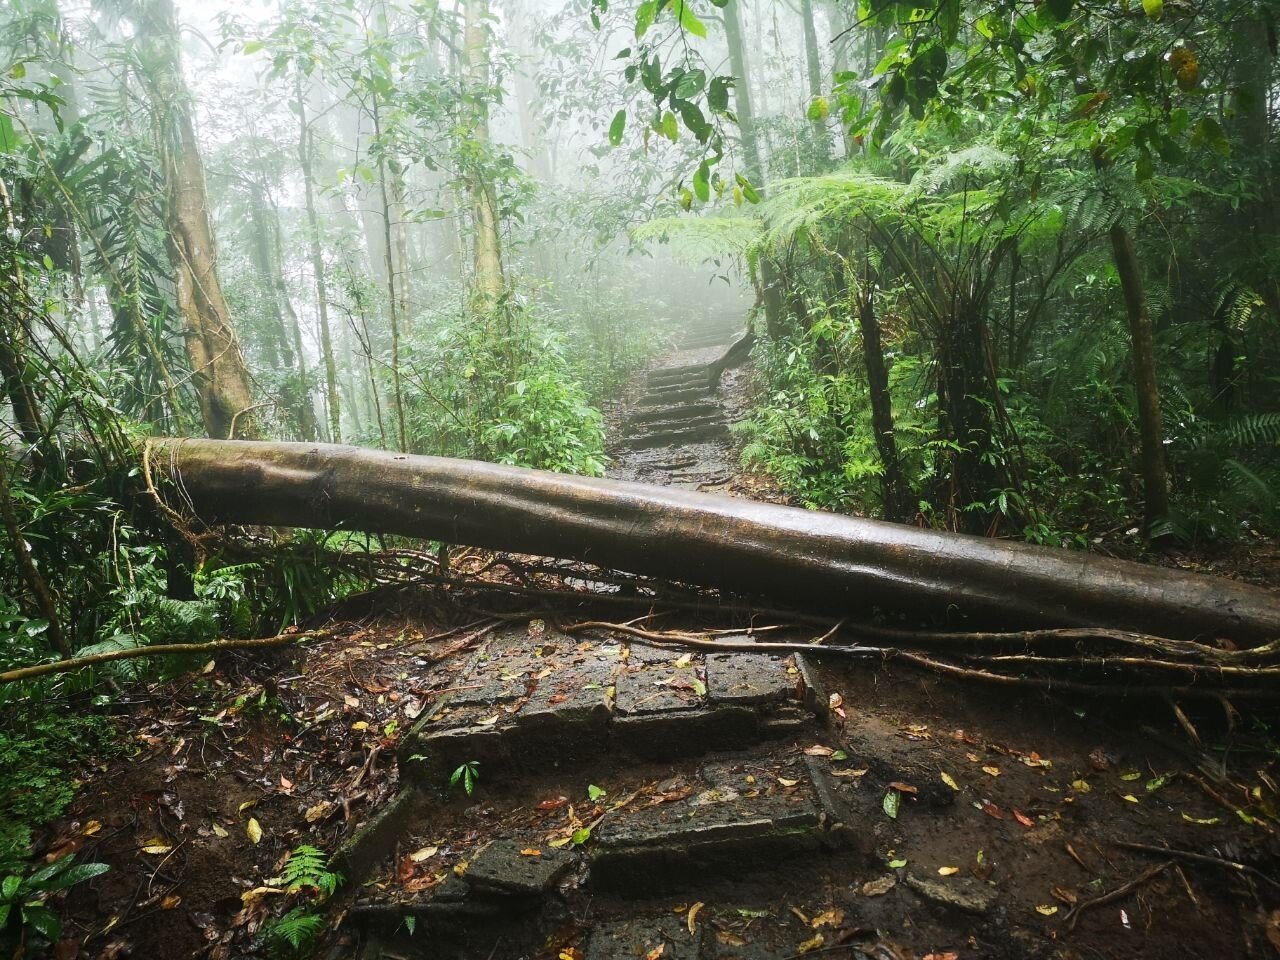
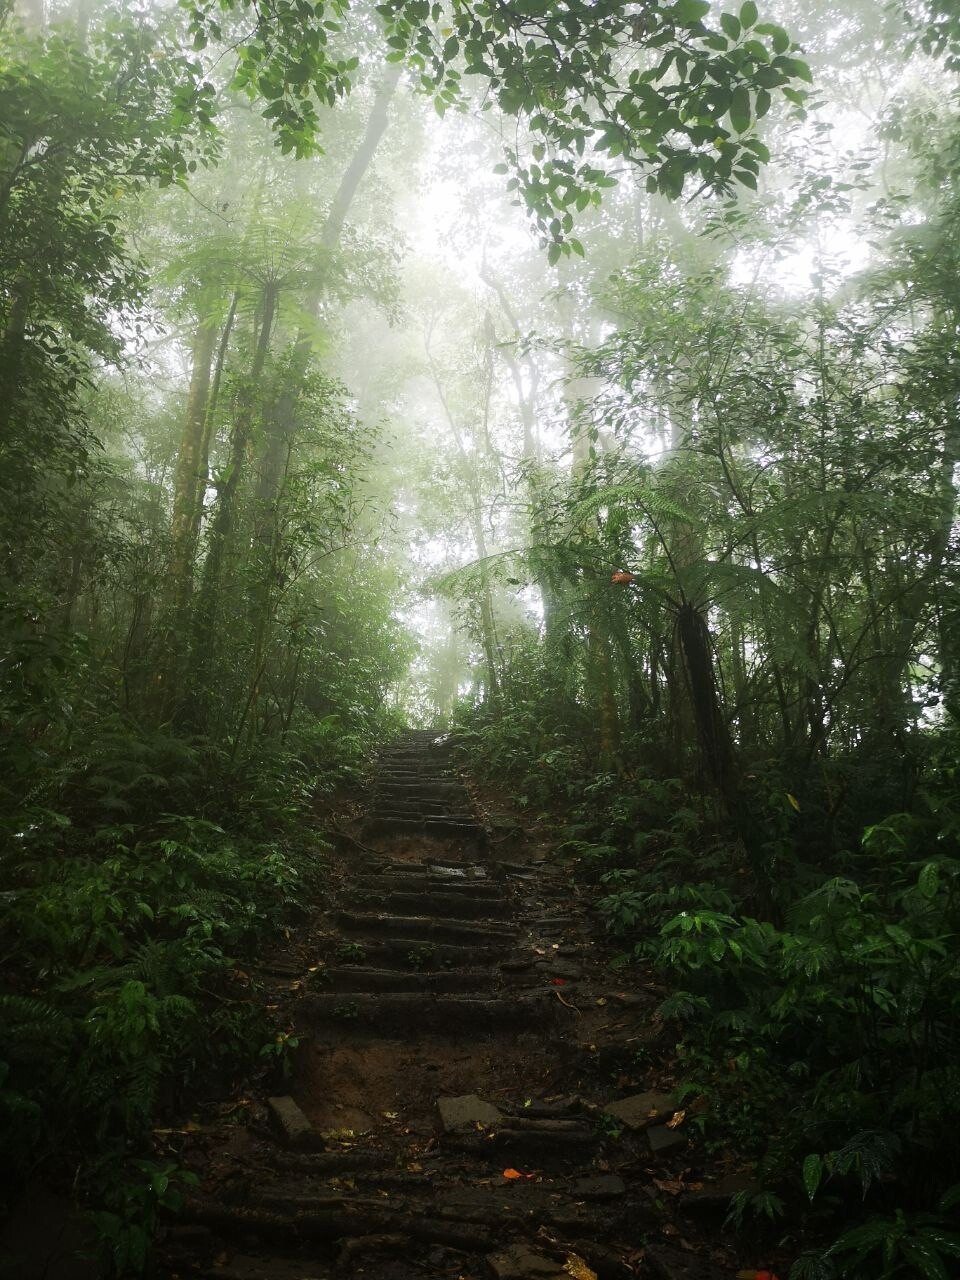
The route to the top is proper trekking. Expect tough ascents and equally punishing descents that your knees (especially if they’re not used to the effort) will definitely feel the next day. On most routes, the trail goes almost straight up at a 40–45-degree angle. Forget neat steps: you’ll be relying on tree roots and rocks, and the wild paths and serious elevation gain require real stamina. But that’s exactly why we go to the mountains.
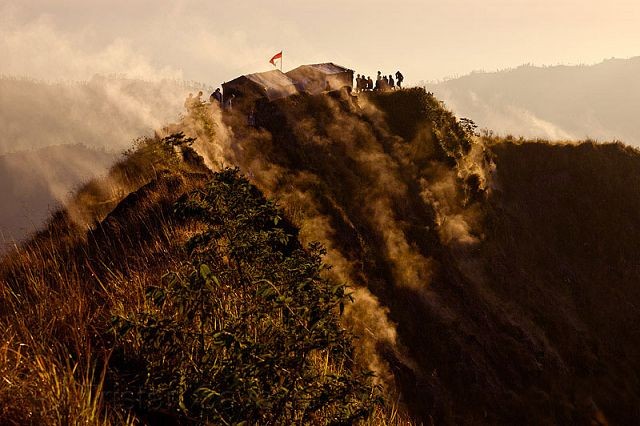
Despite the physical challenge, these routes are usually quite short: on average, the ascent takes 2 to 4 hours, and the descent another 1–2 hours, depending on your pace. It’s intense, concentrated effort that pays off the moment you find yourself above the clouds (if the weather plays along).
Key recommendations
- Before you set off, always check the weather forecast. Ideally, avoid trekking in the rainy season: it’s not just wet, it’s genuinely dangerous. Heavy rain washes out already tricky trails, turning them into slippery mud. In those conditions, the climb becomes an exhausting fight and the descent a risky ride, where you’ll be using both your hands and your backside.
- Even if it’s sunny at the start, always bring a thin, lightweight rain jacket. In the mountains (especially around Batukaru), the weather is unpredictable and can change within minutes. Important: don’t take a heavy, long scooter raincoat. You’ll trip on it, and on steep sections that can lead to a fall. You need a compact option that doesn’t restrict movement.
- Footwear is everything. Good trekking trainers or boots are the best investment for these hikes. Regular canvas shoes or flat-soled trainers will turn you into an “ice skater” on a wet trail. You can find good-value footwear at Eiger stores (they’re in almost every part of the island). With the right tread, you’ll forget about blisters and feel confident with every step, without wasting energy just trying to stay upright.
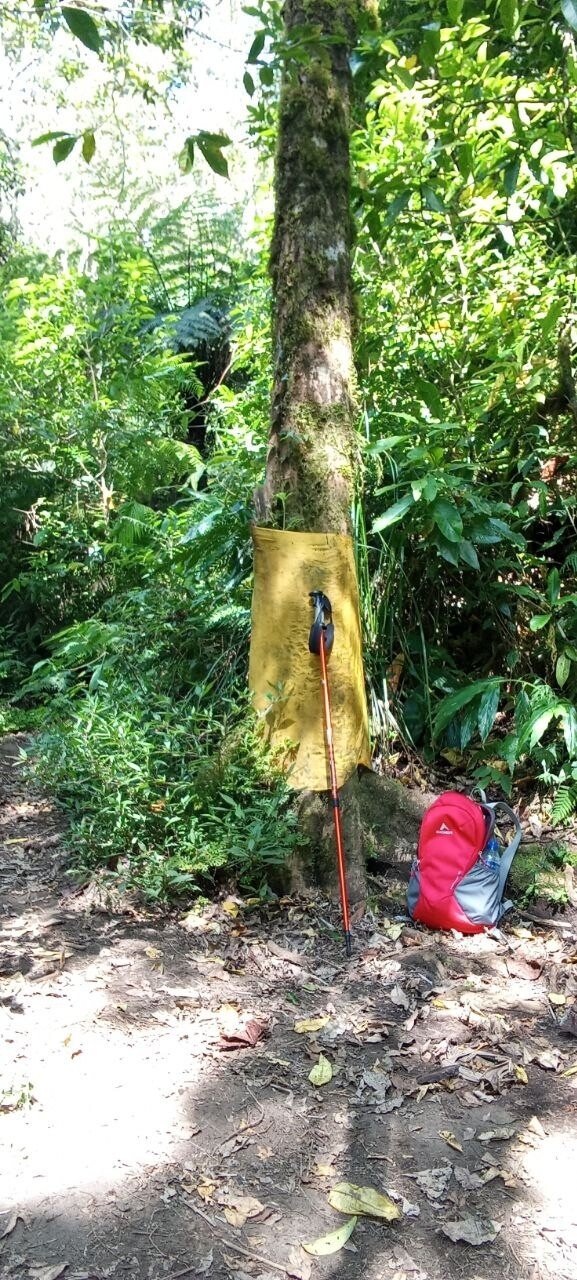
- Trekking poles are your safety net. I strongly recommend buying one, or better, two. They’ll make you feel much more stable, especially on steep descents where the load on your knees is highest. They’re not a gimmick for pensioners, but a real way to make the hike safer.
- Timing. Ideally, start early in the morning. In the dry season, a midday start is possible (if you’re not planning long breaks), but the latest is 12:00. It’s important to get down before dark, because twilight in the jungle comes fast, and an unfamiliar trail in the dark becomes dangerous.
- Bring enough water and a snack. My tried-and-tested kit: 1 litre of plain water, a 0.5-litre bottle of Pocari Sweat to restore electrolytes (sold everywhere), a couple of bananas and a Snickers. The isotonic drink is great when fatigue hits and helps you stay hydrated in Bali’s humidity and with fluid loss through sweat.
- It’s almost always windy at the top, and noticeably cooler than down below. Be sure to bring a light but warm jumper. I also recommend keeping dry clothes and a warm jacket in your scooter boot. After you’ve worked up a sweat on the way up, changing into something dry at the end is its own kind of pleasure.
- Wear covered clothing. They say you can pick up leeches in the mountains. I’ve never once come back with such “hitchhikers”, but I can easily believe it happens in the rainy season. And mosquitoes are always a thing, so repellent is useful too.
- Always bring SPF 50 and remember to reapply. In the mountains you can burn very quickly, even if you’re walking in the shade of dense jungle and the sky is overcast.
- Navigation without internet. Before you go, install Maps.me or Organic Maps and download the Bali map for offline use. Before you start the climb, save your starting point so you know exactly where to return. Although locals thoughtfully mark trails with ribbons and tags, and there are usually only a few turn-offs, it’s always calmer with a navigator. Especially since mobile signal often doesn’t work on many routes.
- Don’t underestimate the descent. Always allow enough time for it and don’t treat the way down casually. Often, descending takes even more effort and full concentration than climbing. You’ll need to measure almost every step to avoid slipping on a steep slope. Your knees and leg muscles will definitely make themselves known after just half an hour of that load, so go carefully and don’t rush, making sure you’ve left enough time to be down before dark.
List of Bali’s peaks
- Agung (3,142 m)
- Batukaru (2,276 m)
- Abang (2,151 m)
- Catur (2,096 m)
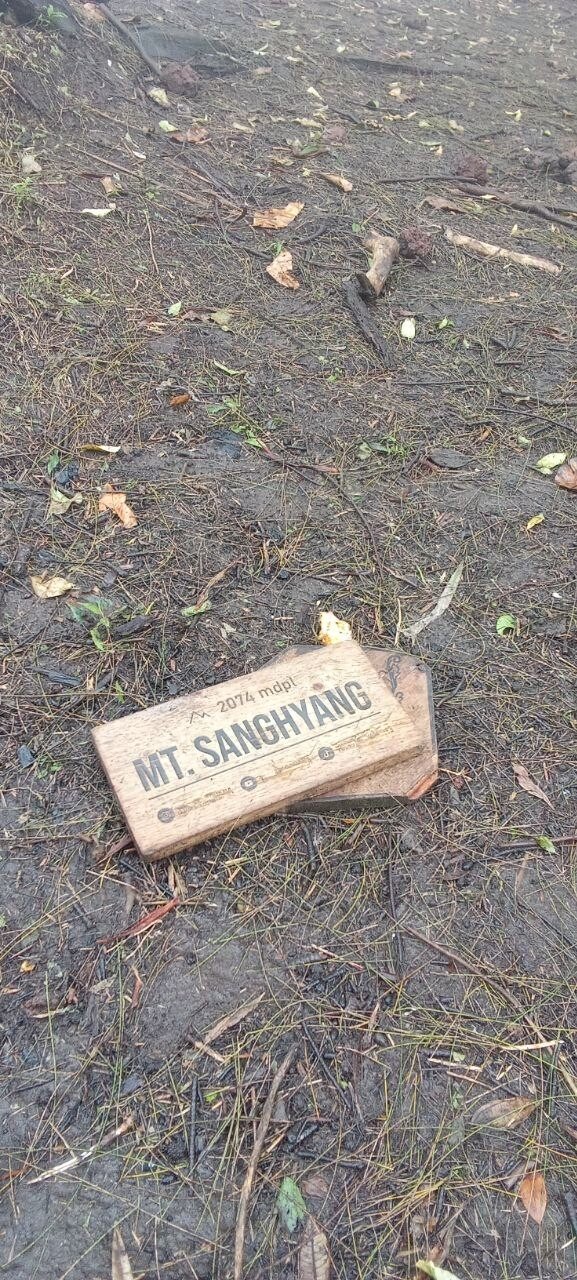
- Sanghyang (2,087 m)
- Pohen (2,063 m)
- Tapak (1,909 m)
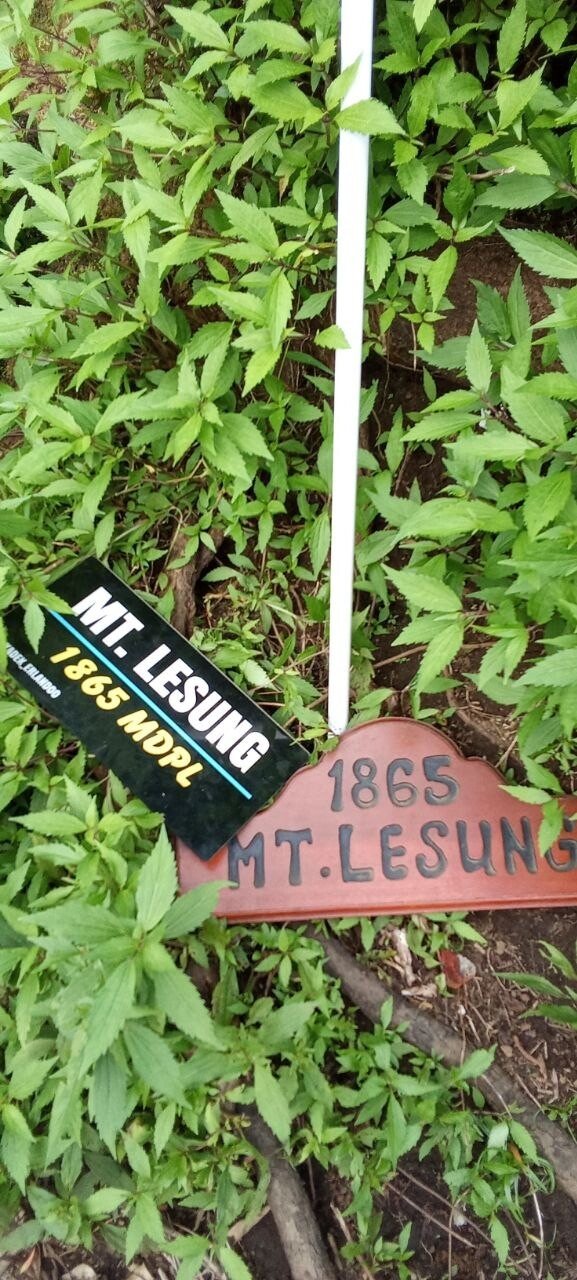
- Lesung (1,860 m)
- Andeng (1,826 m)
- Batur (1,717 m)
From this list, Agung and Batukaru are the hardest climbs. You should only go up Agung with a guide—it’s proper hardcore Balinese trekking. Batukaru is more about endurance, and it’s also crucial to go with someone who knows the route well. To start with, you can climb Catur or Sanghyang and see how you feel. Batukaru is basically Catur multiplied by three—both in time and in stamina. There are also detailed articles about climbing Batur and Abang.
Catur (Catur / Puncak Mangu) — 2,096 m
If Agung and Batukaru still sound too intimidating, Catur is the perfect option. But you’ll still have to test yourself properly here.
There are two main routes up Catur. The easier one starts from the car park by the Parkir Atas Pura Pucak Mangu temple in the village of Plaga. It’s very easy to find via Google Maps, and the ascent itself is straightforward, with no forks along the way. The second, harder route starts here. It’s wilder and longer, less popular with tourists, with more turn-offs, and in places the trail is completely overgrown. Be sure to go with maps.me and set your own starting point before beginning the route.

Author’s photos
Trekking via Plaga: almost the entire way up is an endless staircase. But forget comfortable steps—it's old, badly worn in places, and covered in moss. In some spots there are no steps at all, and you have to scramble up, helping yourself with your hands. The climb feels like a monotonous, fairly brutal push.
Author’s photos
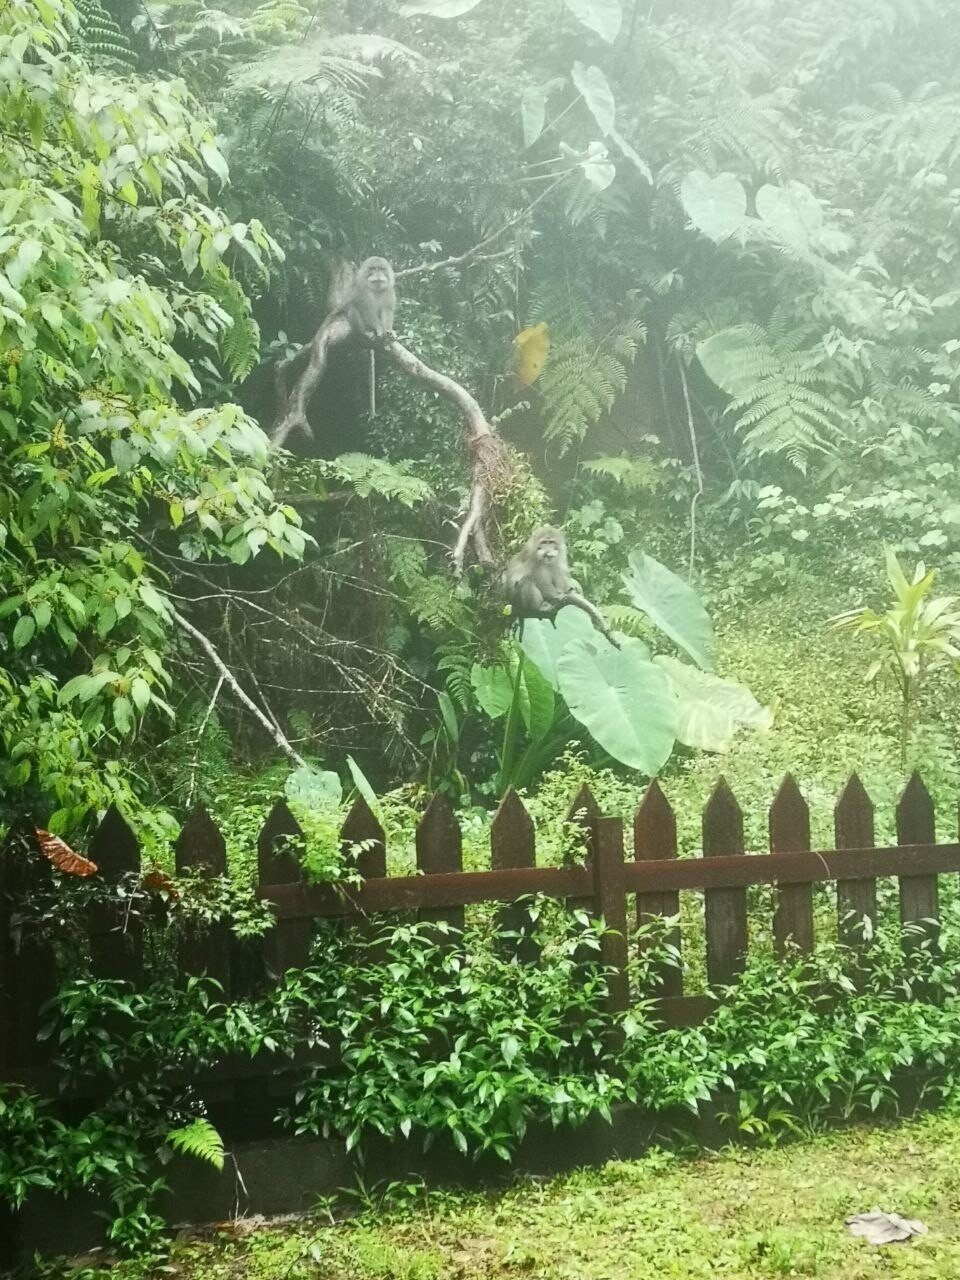
This was my first serious trek, and it wasn’t easy. The ascent is about 2.5 km and takes 3–4 hours, with roughly two-thirds of it climbing at a 45-degree angle and a solid elevation gain. About an hour before the summit, there’s another temple that local macaques love. It’s the only mountain (apart from Batur) where I’ve actually come across monkeys. They aren’t aggressive, but it’s best to be cautious and not provoke them. By the way, there are plenty of monkeys at the summit too.
Author’s photos
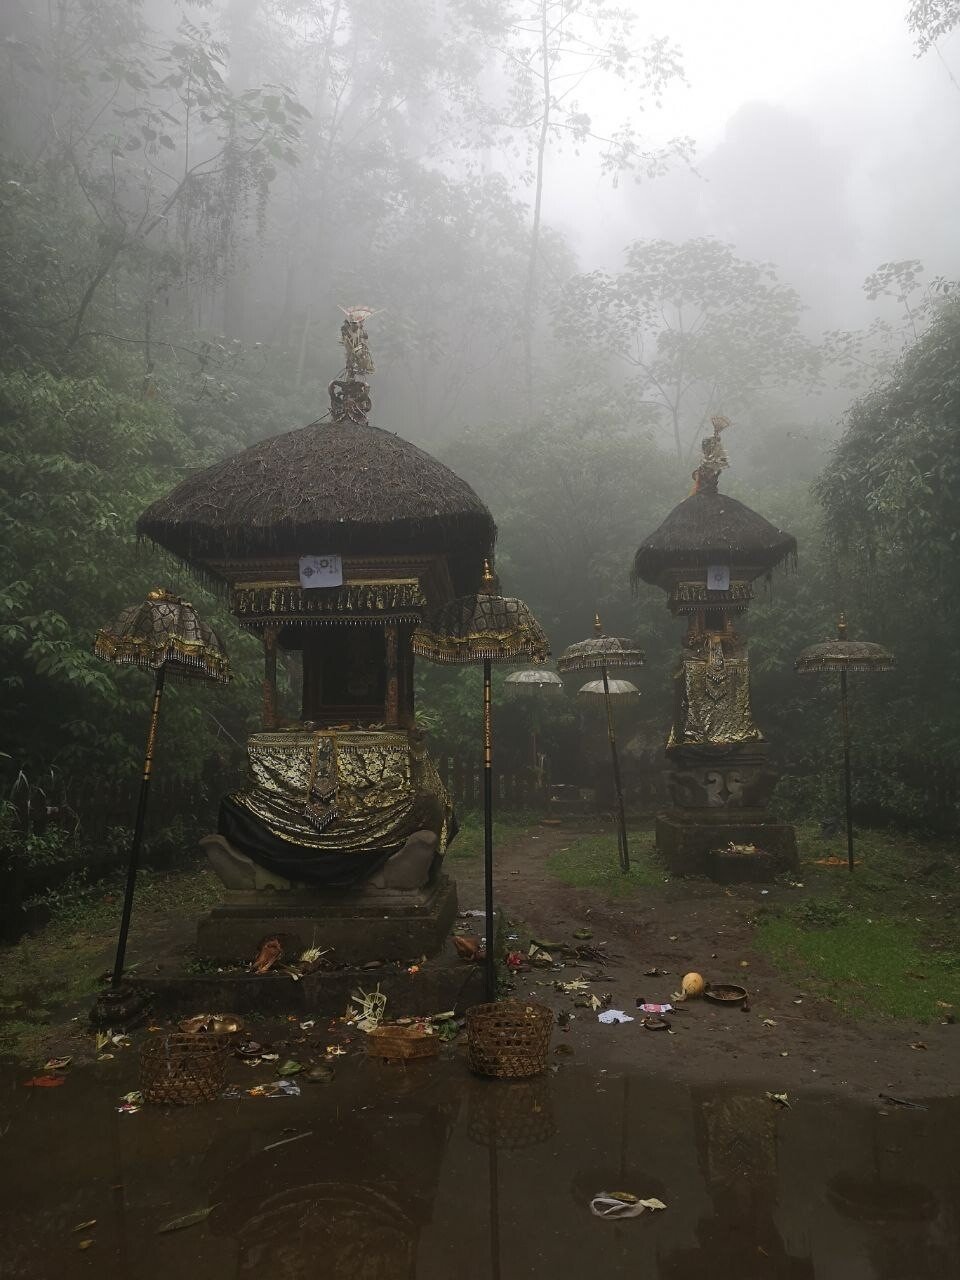
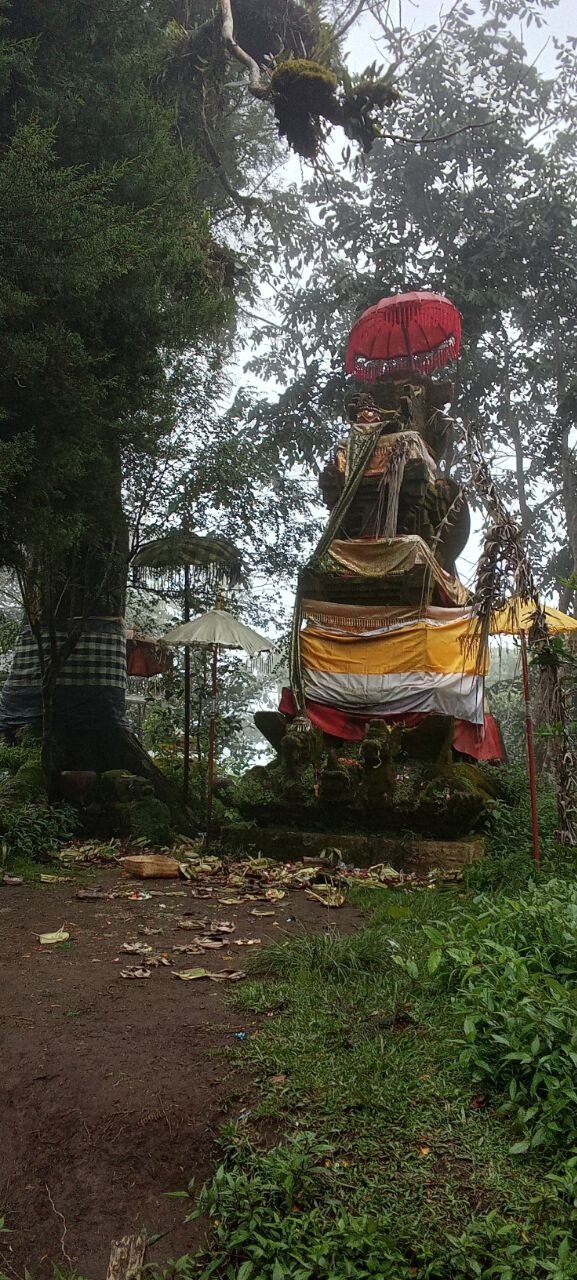
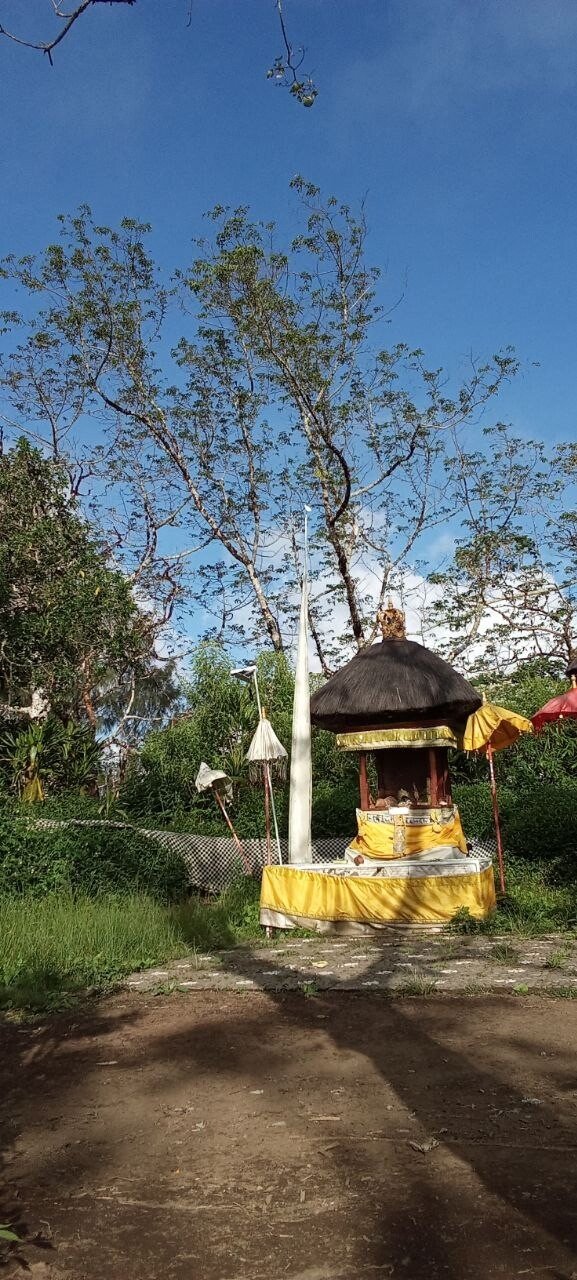
At the top, there’s a reward: the wonderfully atmospheric old temple Pura Pucak Mangu. You can also take a photo with the altitude sign there. On a clear day, you get stunning views over Lakes Bratan and Buyan, as well as the surrounding mountains. It feels like you’re standing level with the clouds. Often the summit is wrapped in mist, giving the temple a mystical, almost fairytale look.
Sanghyang (Gunung Sanghyang) — 2,087 m
Sanghyang is a more serious challenge. This trek is harder than Catur, and the difficulties start even at the stage of finding the trailhead. Finding the start is a quest in itself: Google Maps often sends you the wrong way, and you can end up wandering for ages on battered roads on the approach to the car park. On the way back down, after you’ve descended, choose the wider road. From the car park, only drive to the right (the left road is terrible and best avoided).

So, the trek itself starts from a small car park (you’ll need to pay 10k). At first you walk along a narrow path past a small temple and unbelievably beautiful fields of hydrangeas. The first half hour of the climb is fairly easy. Along the way there are markers made from colourful ribbons, so it’s hard to get lost, but I still checked Maps.me. Despite its tough character, Sanghyang is especially popular with local hikers, so at weekends it can get busy.

Author’s photos
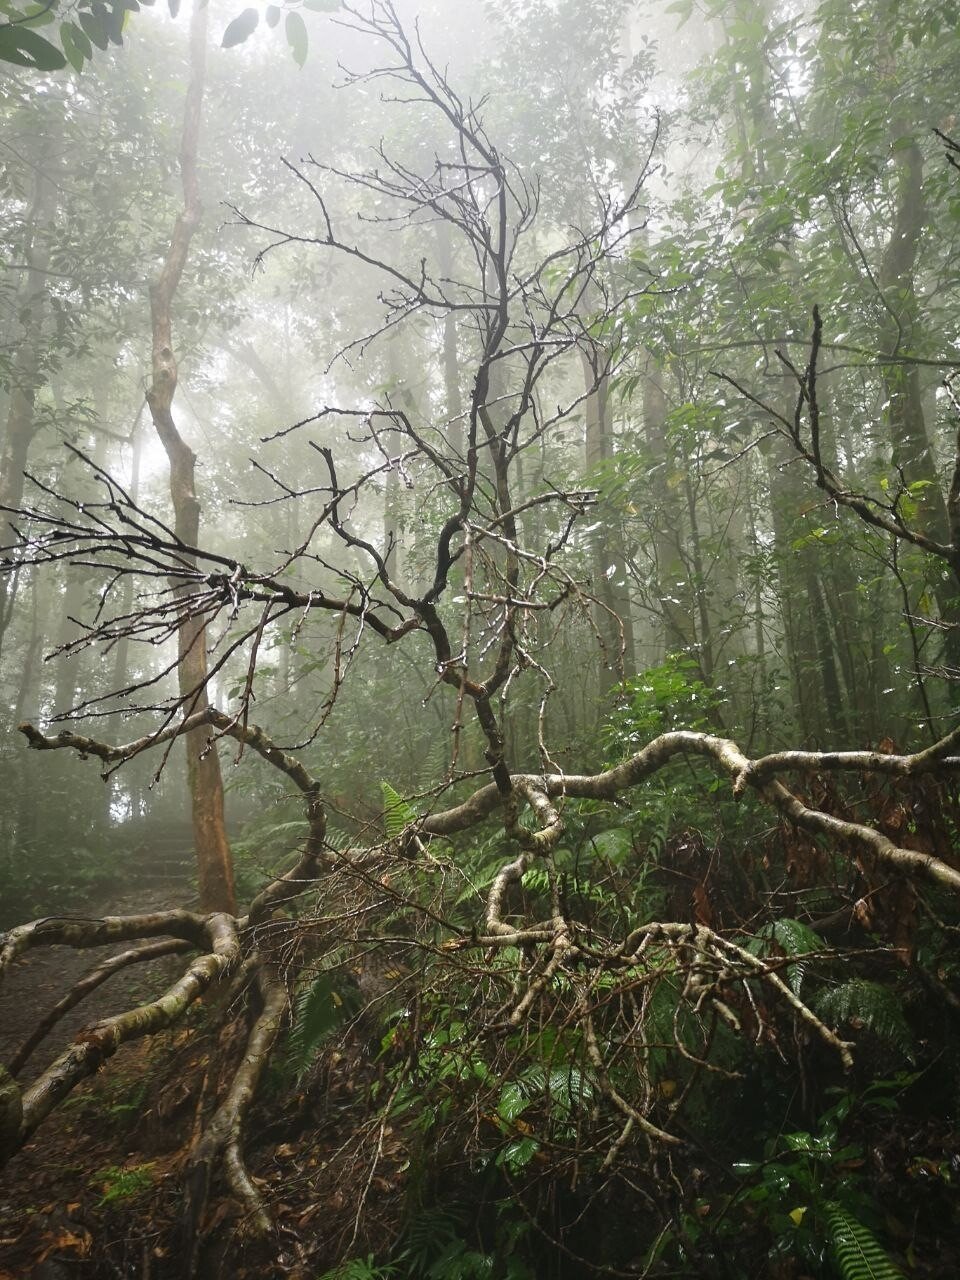
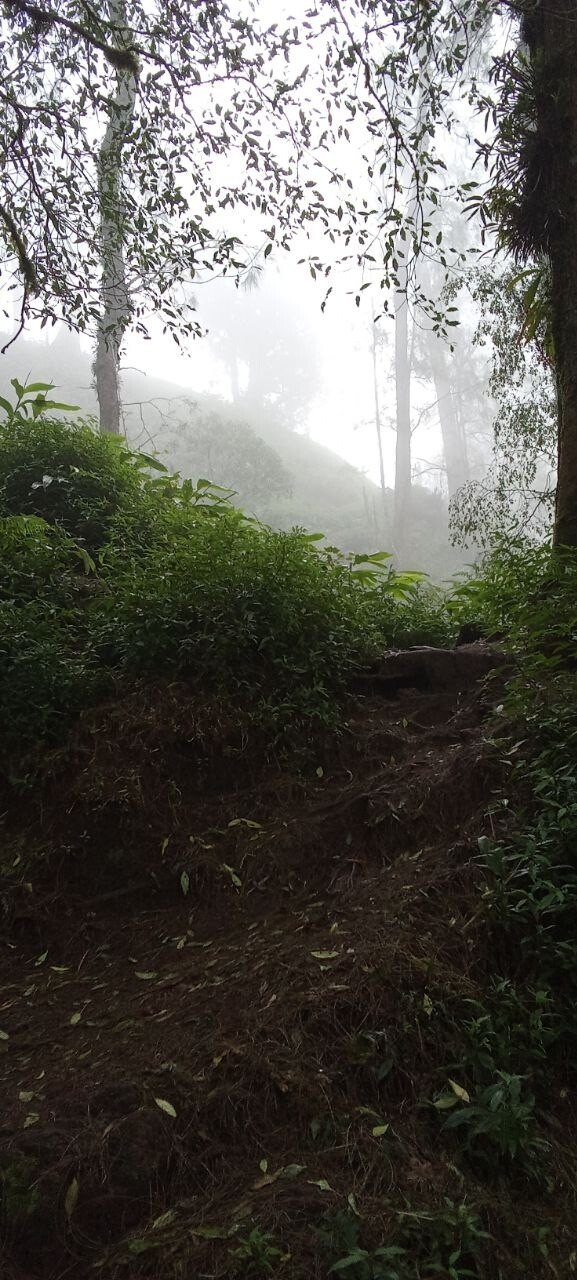
After about half an hour, it gets tougher: the climbs become steeper, there are fewer roots to hold onto, and in places you have to scramble, using not just your legs but your arms too. If it rains, it becomes really brutal. Rain turns the paths into an ice rink, and the higher you go, the fewer chances you have to grab onto something. Safety ropes, thoughtfully fixed by locals on the most dangerous sections, help a lot. But they’re not everywhere, so bring trekking poles.
Author’s photos
The climb takes about three hours at an average pace, and the descent about an hour and a half. On the way back, I was basically sliding down on my backside, holding onto the rope. So once again: the rainy season isn’t the best time to tackle Bali’s peaks, especially ones like Sanghyang.
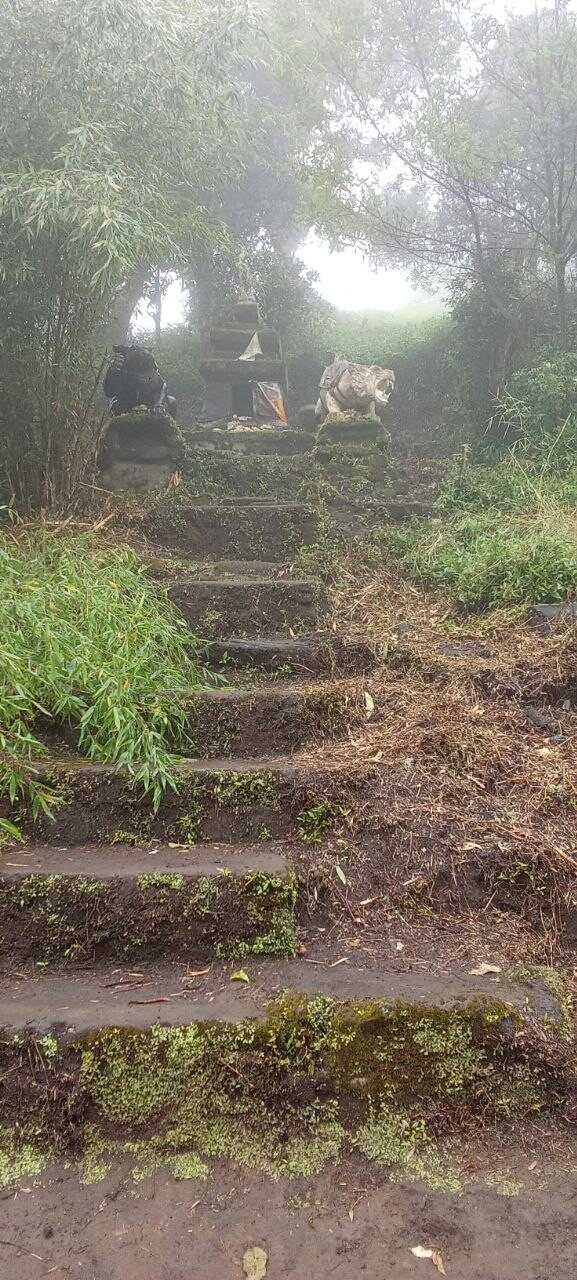
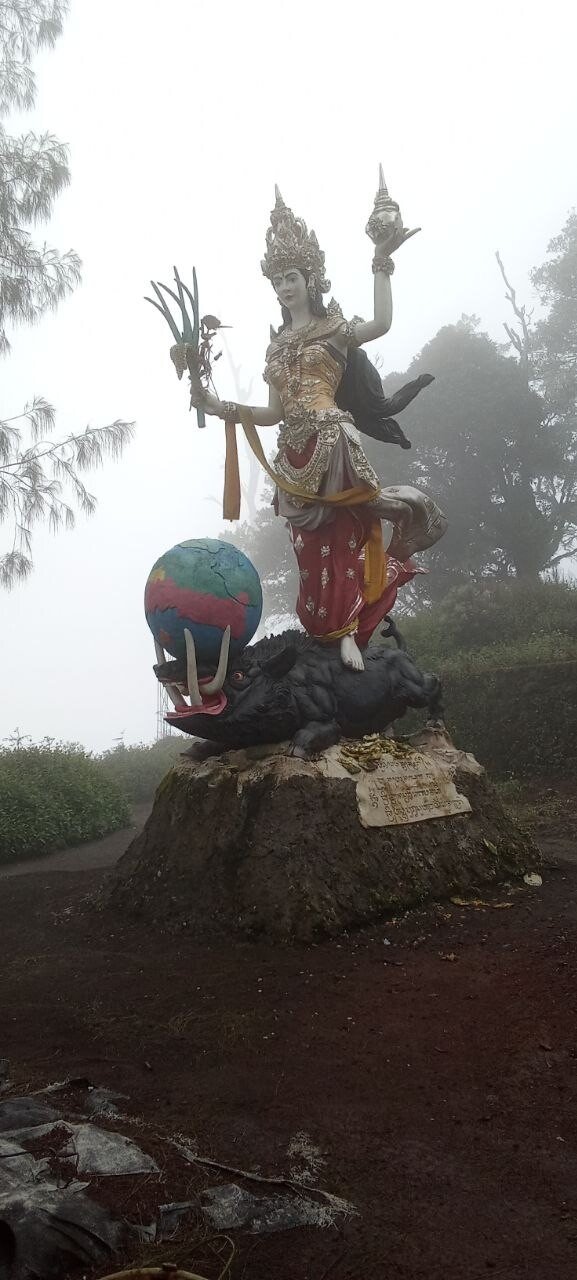
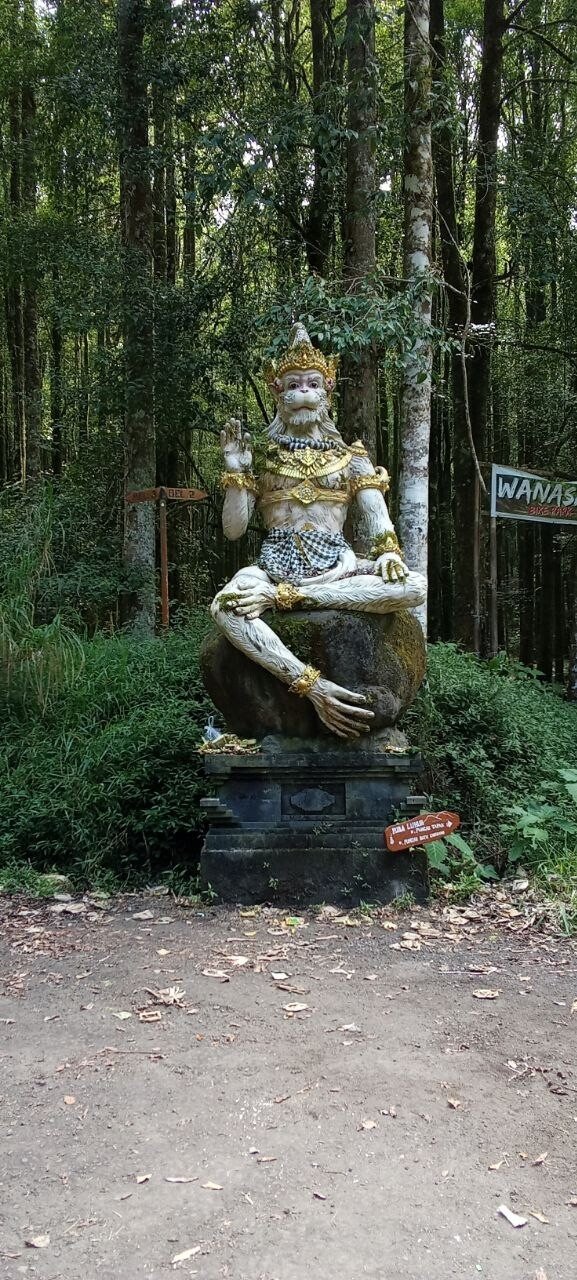
Be very careful with roots: before you grab one, check that it’s solid. Some can snap off in your hands, which could lead to a fall, and there’s a drop on the left. About 10 minutes before the summit, you’ll reach a temple with a statue of Durga riding a wild boar; from there go right, and you’ll soon reach the peak. If you’re lucky, you’ll catch the panorama; if not, the mystical fog will create that special atmosphere. Plan 5–6 hours for the whole hike, and be sure to bring 1–1.5 litres of water and a snack.
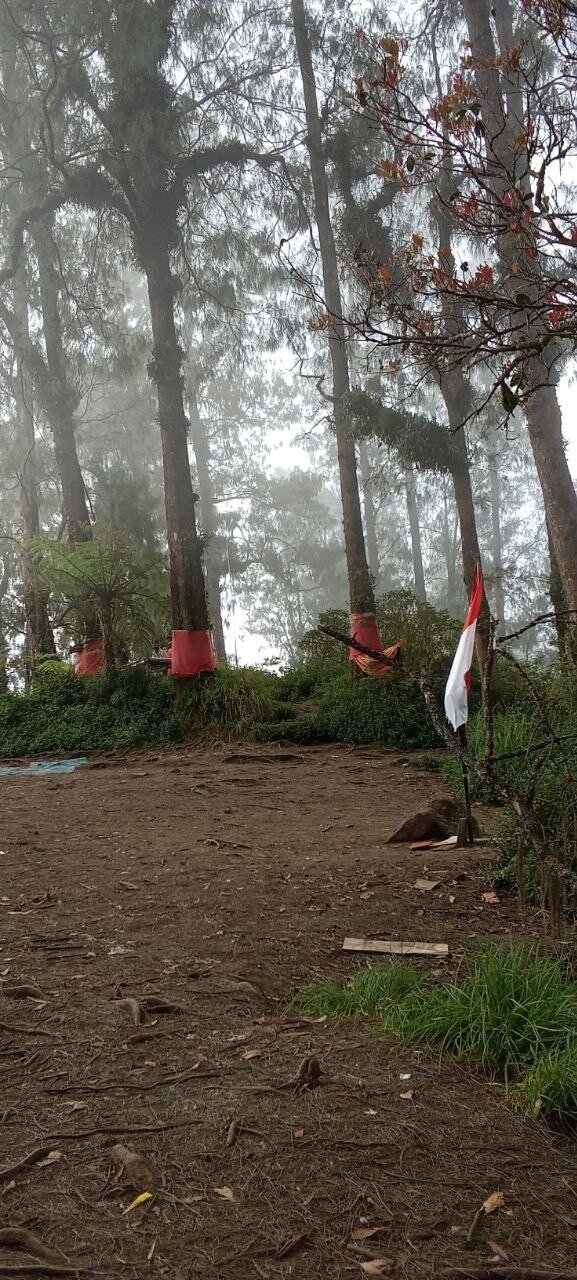
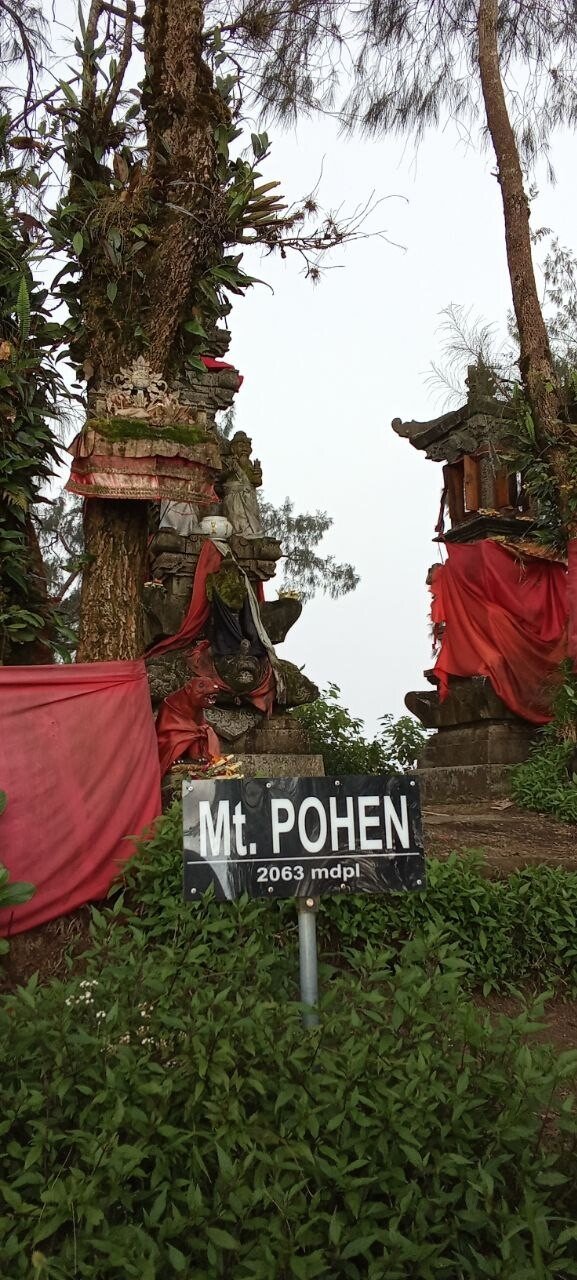
Pohen (Gunung Pohen) — 2,063 m
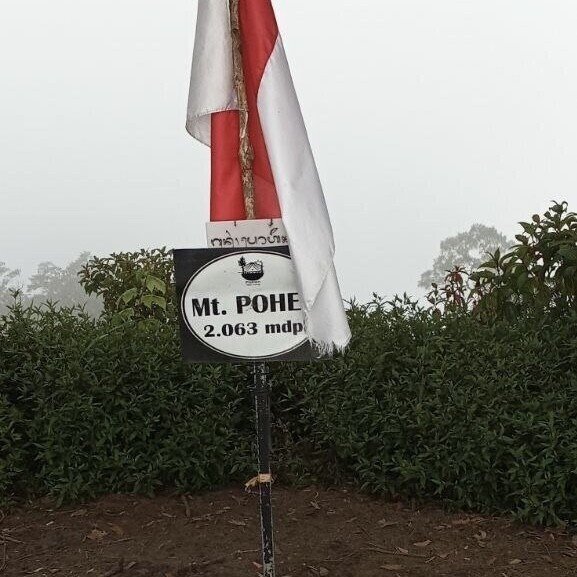
Pohen is the island’s sixth-highest peak, located around Bedugul. It’s a mountain for those who love solitude: there are far fewer people here than on Catur, and you can fully feel the atmosphere of Bali’s wild jungle. It’s very easy to find, and as a pleasant exception for Bali’s foothills, the road here is excellent. The starting point is about a 15-minute drive from the Bedugul Botanical Garden. At the car park you need to sign the visitors’ log and pay 50k rupiah. The guys at the entrance are very friendly. If you want, you can also hire a guide here—they’ll ask you themselves whether you need someone to accompany you.
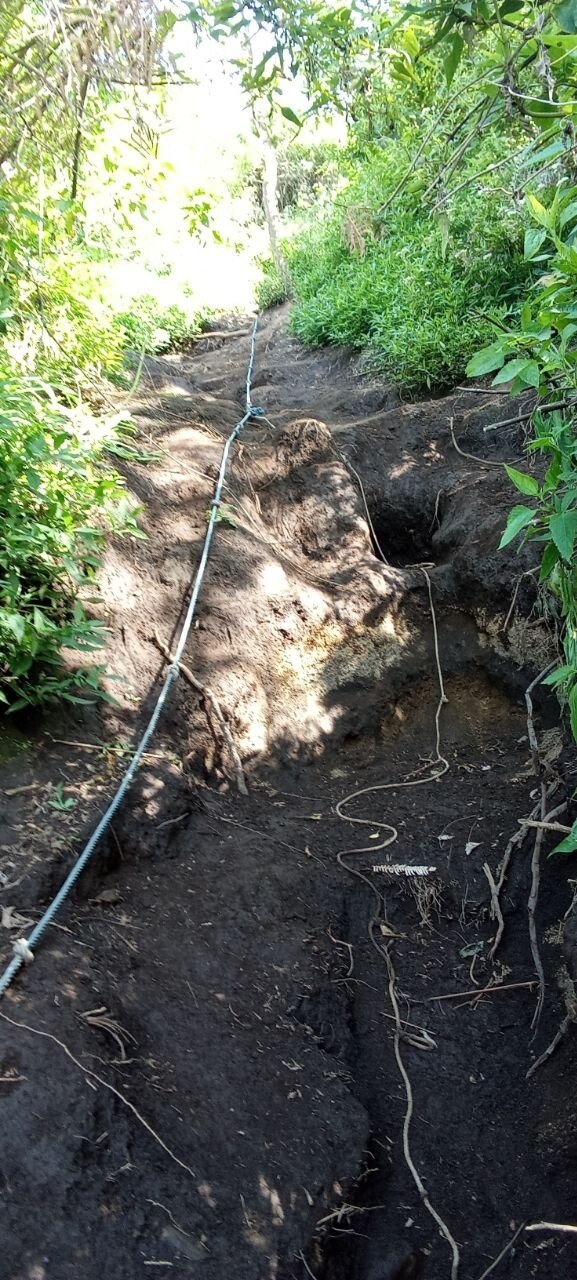
From the car park, turn right and walk straight along the road for about 10 minutes. When you see the Hanuman statue, turn left into the forest (there will be a sign). Keep in mind: if you pass Hanuman and keep going straight, you’ll end up on the ascent trail to the neighbouring peak, Tapak. The climb is considered technically challenging and steep. The mountain’s character is a constant “vertical” elevation gain with almost no gentle sections. The ground is loose and prone to erosion, so the soil can slide out from under your feet, especially on steep slopes. In the most dangerous spots there are also ropes to help you get past particularly slippery sections where there’s nothing to hold on to.
Author’s photos
The entire route is well marked with ribbons and tags, so it’s impossible to get lost. The climb is hard and uneven: in places you’ll need to use your hands and scramble over roots, so a trekking pole is very helpful here. The toughest part starts about 20 minutes before the summit: there’s a section with loose scree and small stones where everything slips underfoot. The elevation gain is around 500 metres, and you feel it in every muscle.
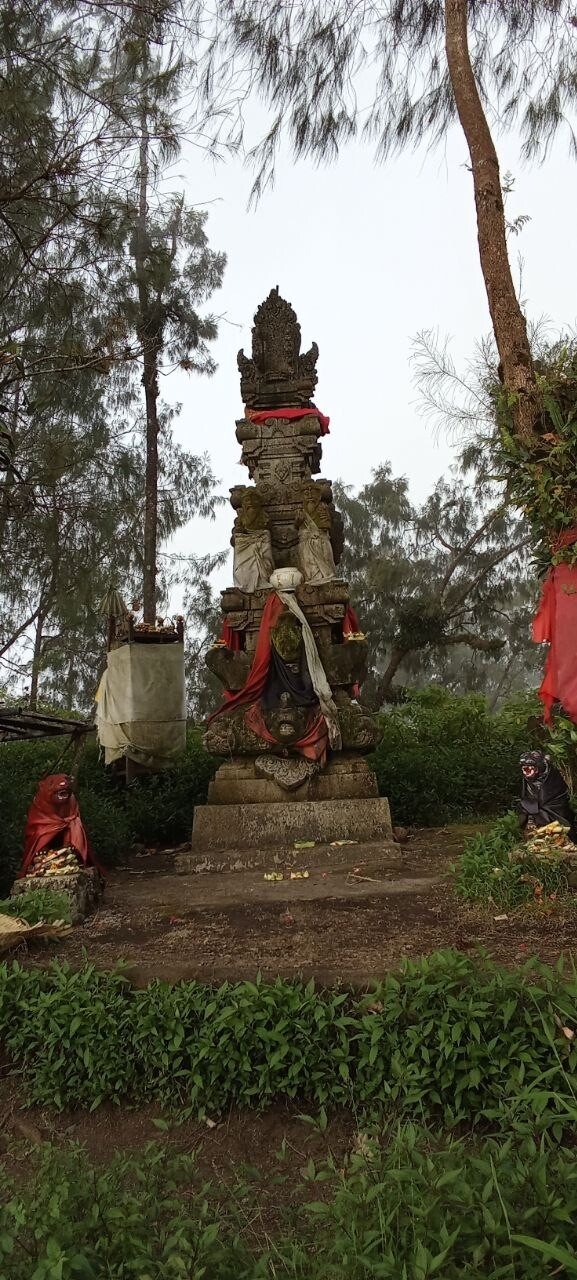
The summit trail itself is quite short—about 1.5 km—but because it’s so steep, it takes a lot out of you. If you walk slowly with breaks, allow three hours for the ascent and about an hour for the descent. When you reach the plateau, head right straight away—you’ll see an atmospheric red temple. This is the finish point where you can take that classic photo with the conqueror’s sign.


Author’s photos
There’s also a second starting option for Pohen—via the Pohen Hills recreation base and campsite (point here). It’s in the same area, just past The Blooms Garden flower park. There’s convenient parking, toilets and a café, and entry costs 20k. The start point is higher up, which slightly reduces the total elevation gain. By the way, this is also where the trail to the other peak, Andeng, begins.
The main difference with this route is that it’s longer and gentler at the beginning. If from the station you almost immediately start a steep “vertical” climb, here the trail traverses the slope for longer, gaining height more gradually. It’s a good option for those who don’t like a sharp push from the very first minutes.
Author’s photos
The trail here is also well trodden, but because it’s longer, the total time to the summit can be 30–40 minutes more than the route from Hanuman. In the end, both trails join on the ridge below the summit, so the final steep section with loose scree remains a mandatory part of the programme for everyone.
Tapak (Gunung Tapak) — 1,909 m
Tapak isn’t quite as “heavy artillery” as Sanghyang or Catur, but you’ll still have to work your legs (and in places your hands). At the same time, despite the steepness, this climb is one of the safest in terms of how well the trail is prepared.
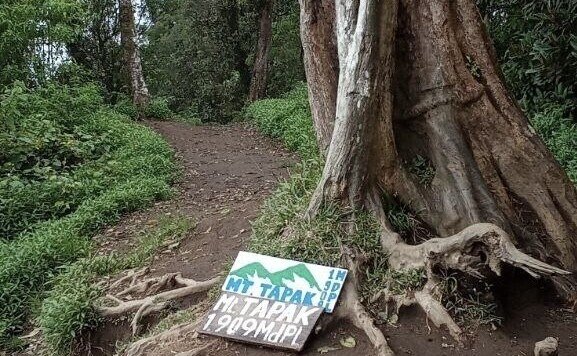
There are two main trails up Tapak. The first starts at the Hanuman statue near the Bedugul geothermal station (the same point as for Pohen). The second—more popular one—is inside the Botanical Garden itself (point here). You’ll need to pay the garden entry fee, then walk about another 15 minutes to the actual start of the route.
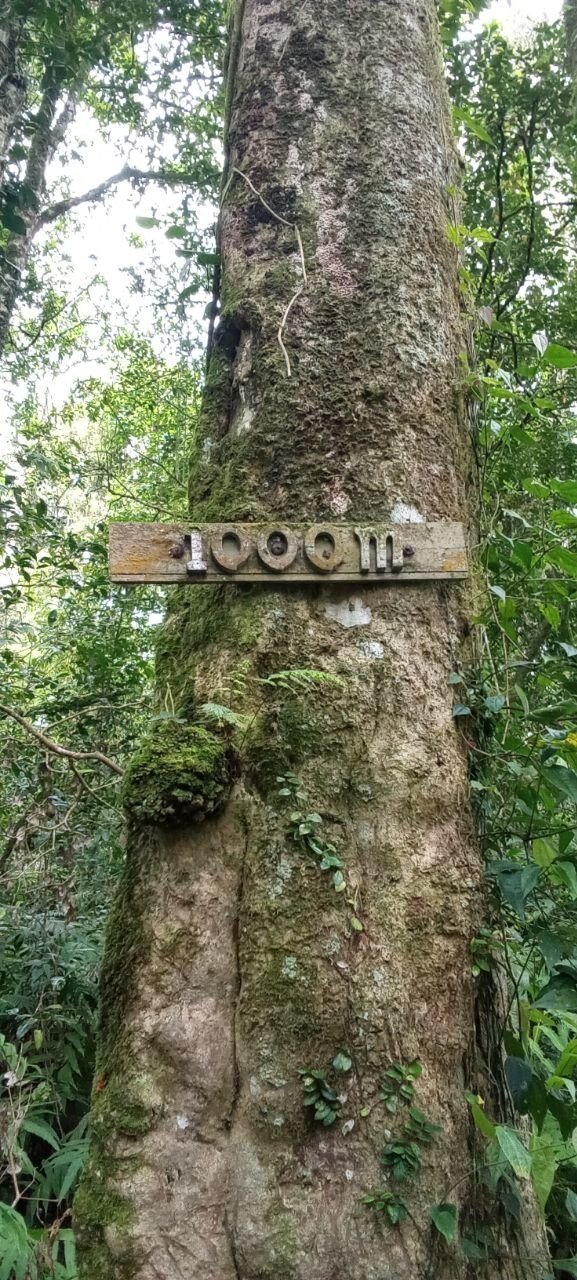
Because the mountain is in a very humid area, the trail is almost always damp and slippery. To make the climb easier, safety ropes are strung along both sides for almost the entire route. Without them, scrambling up wet soil and roots would be extremely difficult. The ascent is fairly steep, and you’ll constantly need to use your hands, pulling yourself up on the ropes.

Author’s photos
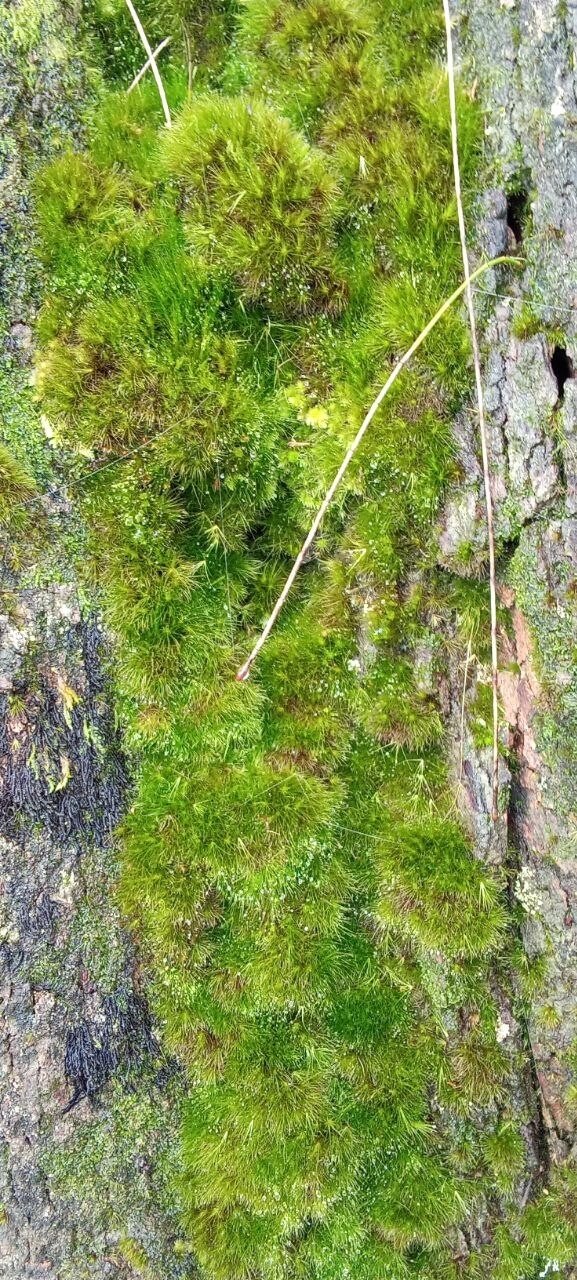
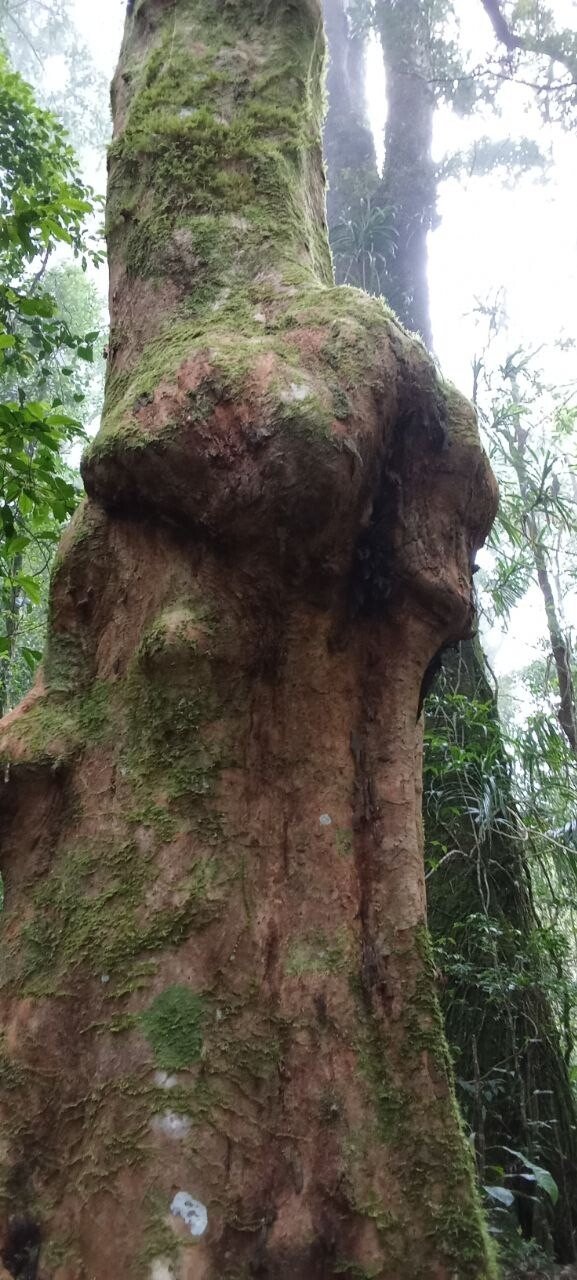
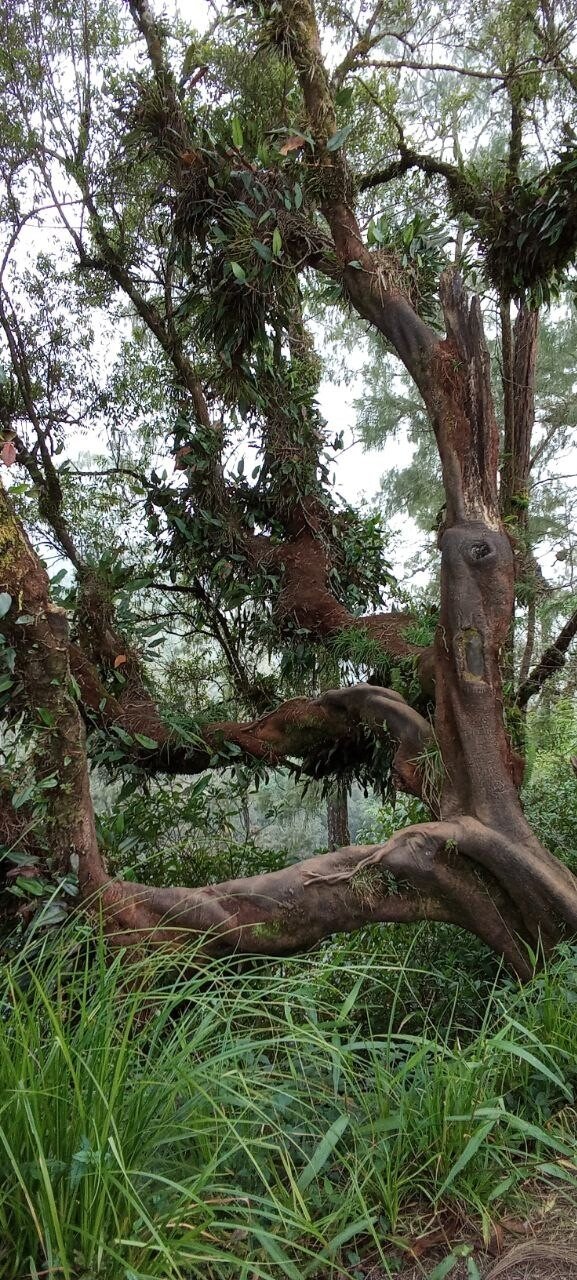
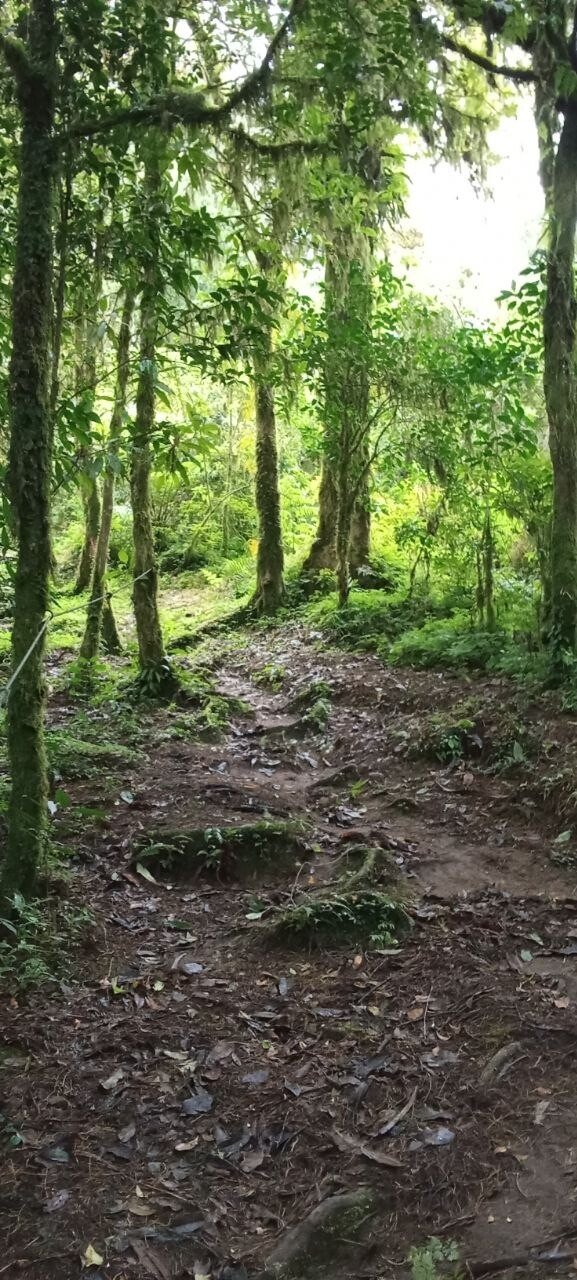
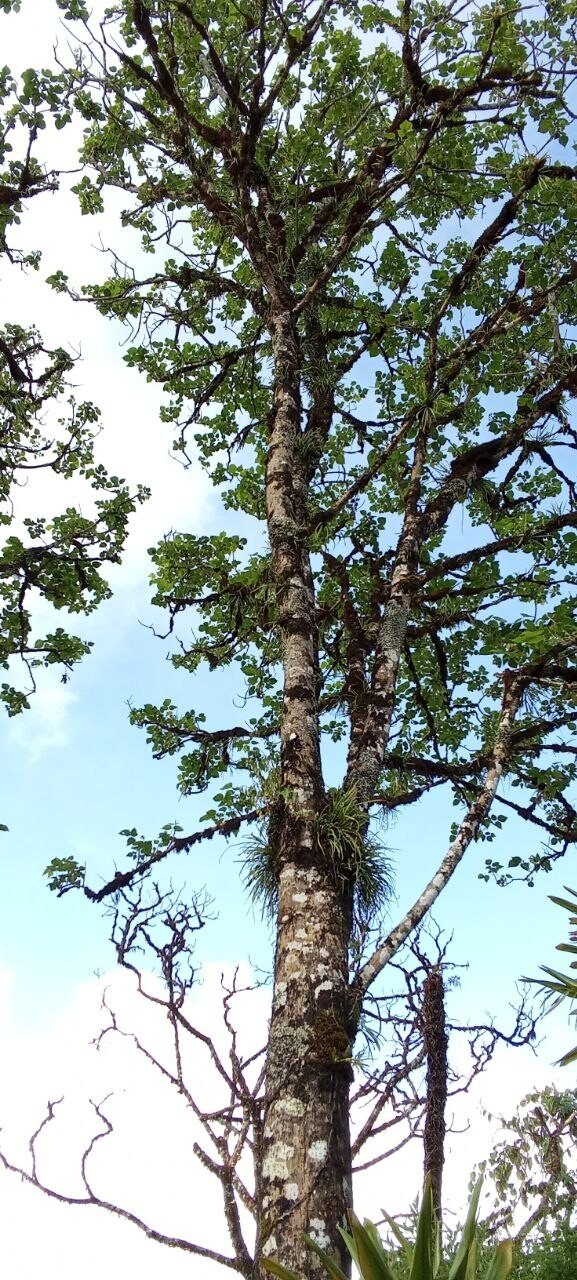
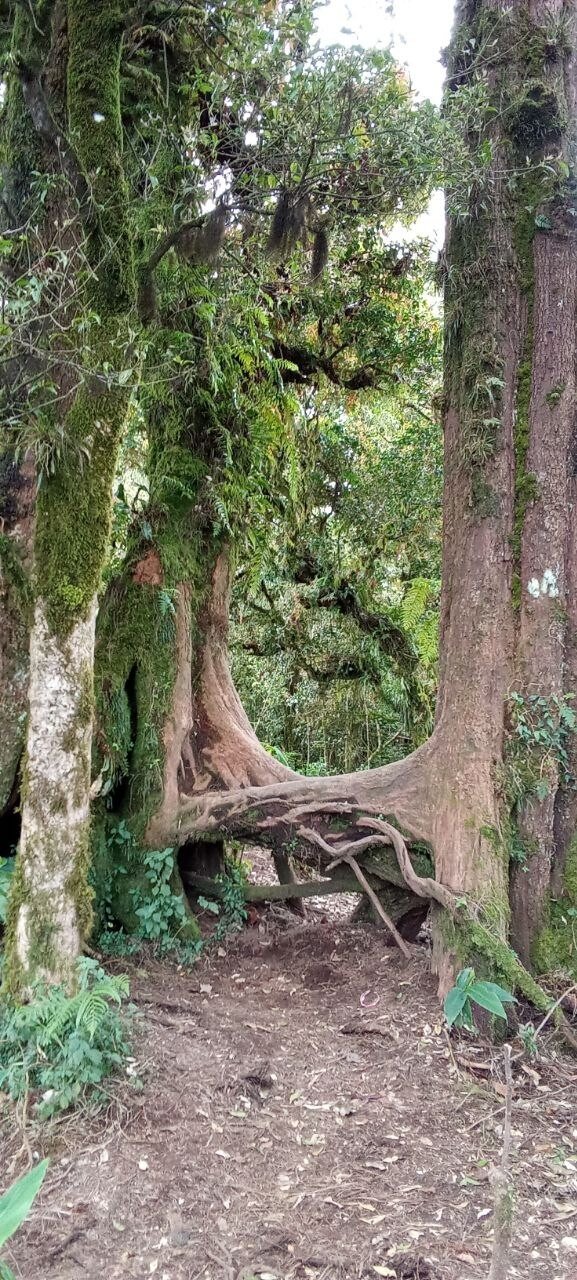
Trekking on Tapak is a classic immersion into a cloud forest. It’s very humid, with lots of moss and ferns. The elevation gain hits quickly because the trail goes steeply uphill without unnecessary zigzags. Even with the ropes, this isn’t an easy stroll: by the middle of the route your breathing gets heavier, and your arms start to tire from the constant tension.
At the summit there’s the Hindu temple Pura Puncak Teratai Bang and a Muslim shrine (maqam) of Habib Umar. This place is considered an important symbol of religious tolerance in Bali, as the Muslim shrine and the Hindu temple have stood side by side there for a very long time.
Because of the dense vegetation, you won’t get the open panoramic views you do on Catur, but the “lost world” jungle atmosphere is worth it. The ascent typically takes about 1.5–2 hours, and the descent just under an hour. A perfect option for those who want a technical but not exhausting trek.
Lesung (Gunung Lesung) — 1,860 m
If you’re looking for a route where you can relax and simply enjoy nature without extremes or scrambling on all fours, Lesung is the perfect choice. It’s the easiest and safest trek on this list. You’ll sweat in places, of course, but overall the trail is fairly flat with no sharp elevation gain. Ideal for trekking beginners and for anyone who’s nervous about difficult descents.
The route starts from the Munduk side. The road suggested by Google Maps isn’t the best in places, but you can get through carefully on a scooter. You can also climb the mountain from the side of Lake Tamblingan, but the Munduk route is the best option for a relaxed start. The lake route is considered wilder and more scenic, but there you’ll have to push through overgrown bushes.
Author’s photos
The trek goes through a stunning, clean forest. There are no dangerous drop-offs or sections where you need acrobatic skills. The trail is very easy to follow, with ribbons everywhere, so getting lost is almost impossible. There are only two junctions along the entire route:
- Right at the start: keep to the right, following the red ribbon.
- Halfway along: by the Naga Loka temple. If you go straight for about 7 minutes, you’ll reach a sacred spot—the Naga Loka cave (don’t expect a huge cavern; it’s more of a mystical place for offerings). To reach the summit, turn left from the temple.

Author’s photos
The route feels like a pleasant forest walk with a gentle elevation gain. At the very top, a temple and silence await you. I didn’t come across any monkeys or leeches here. It even feels like there are fewer local hikers than on Catur or Pohen. But keep in mind: if you go at the weekend, it will definitely be busier—many people come trekking from other parts of Indonesia. The full out-and-back route takes about 3–4 hours at a very relaxed pace. If on other mountains you battle the route, here you simply enjoy it.
Andeng (Gunung Andeng / Adeng) — 1,826 m
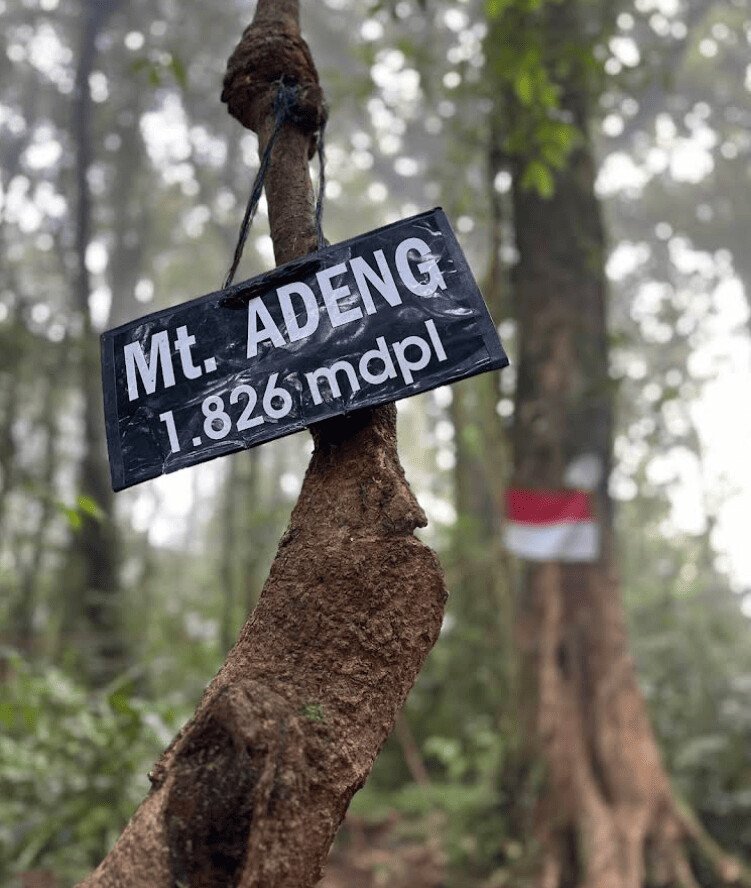
Andeng is an extinct volcano and probably the least-known mountain in Bali. On topographic maps it’s marked as Andeng, but in Google Maps and Maps.me you’ll find it as Adeng. By the way, in Indonesian, andeng-andeng means “mole”—perhaps because of how neatly the mountain sits against the backdrop of its giant neighbours. If you’re looking for complete solitude and untouched nature, this is the place.
There are two main routes up Andeng, and they feel very different. The first—wilder and more spiritual—starts from the Pura Luhur Puncak Adeng temple. The ascent begins at around 1,010 m. Be prepared: a significant part of the route (the first 160 metres of elevation gain) goes right through the temple grounds. As soon as the staircases end, so does civilisation—the wild trail begins.
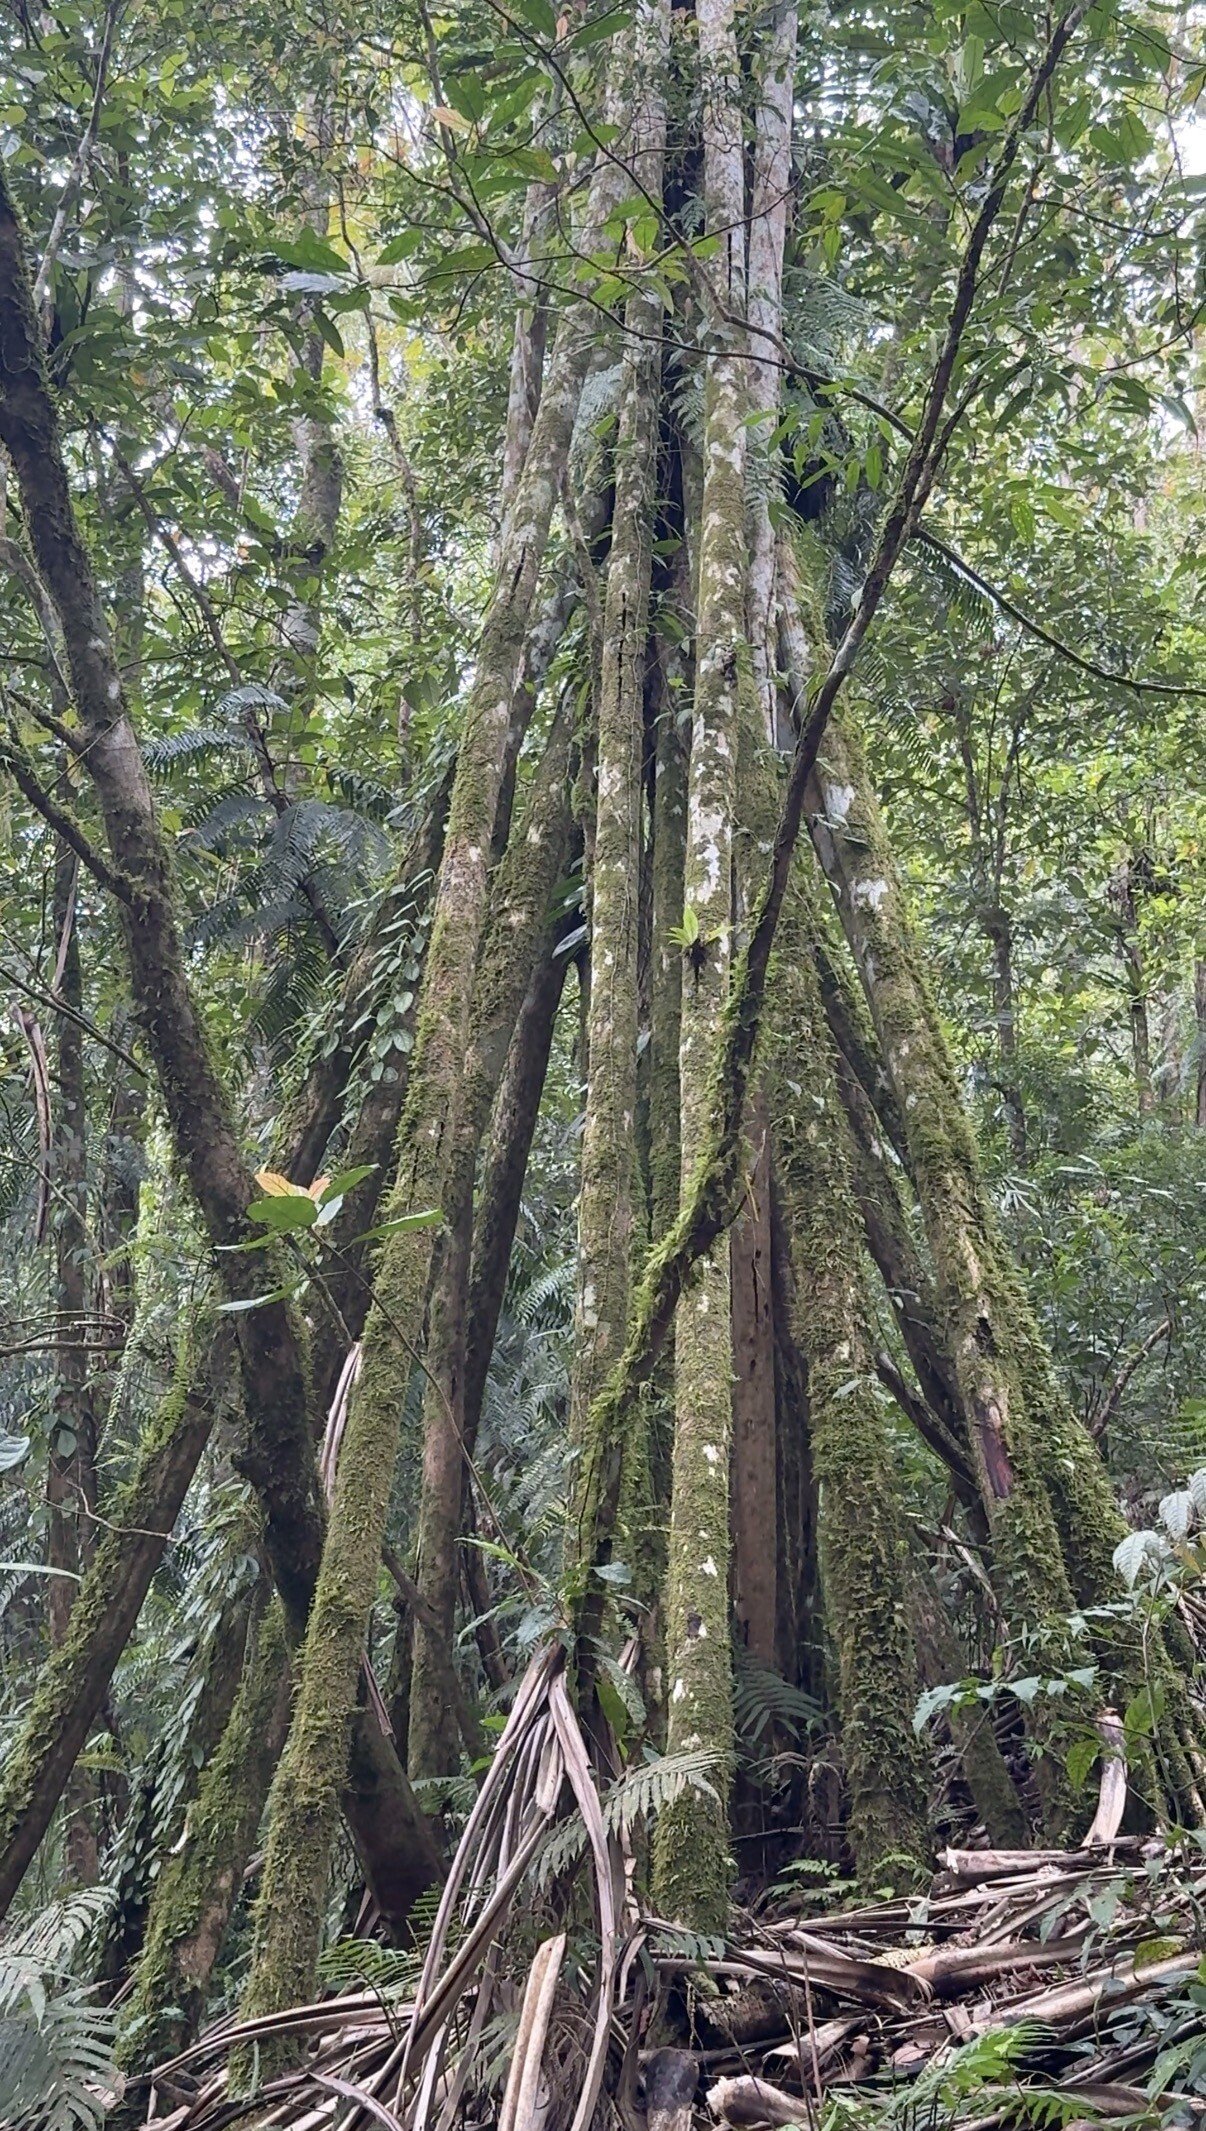
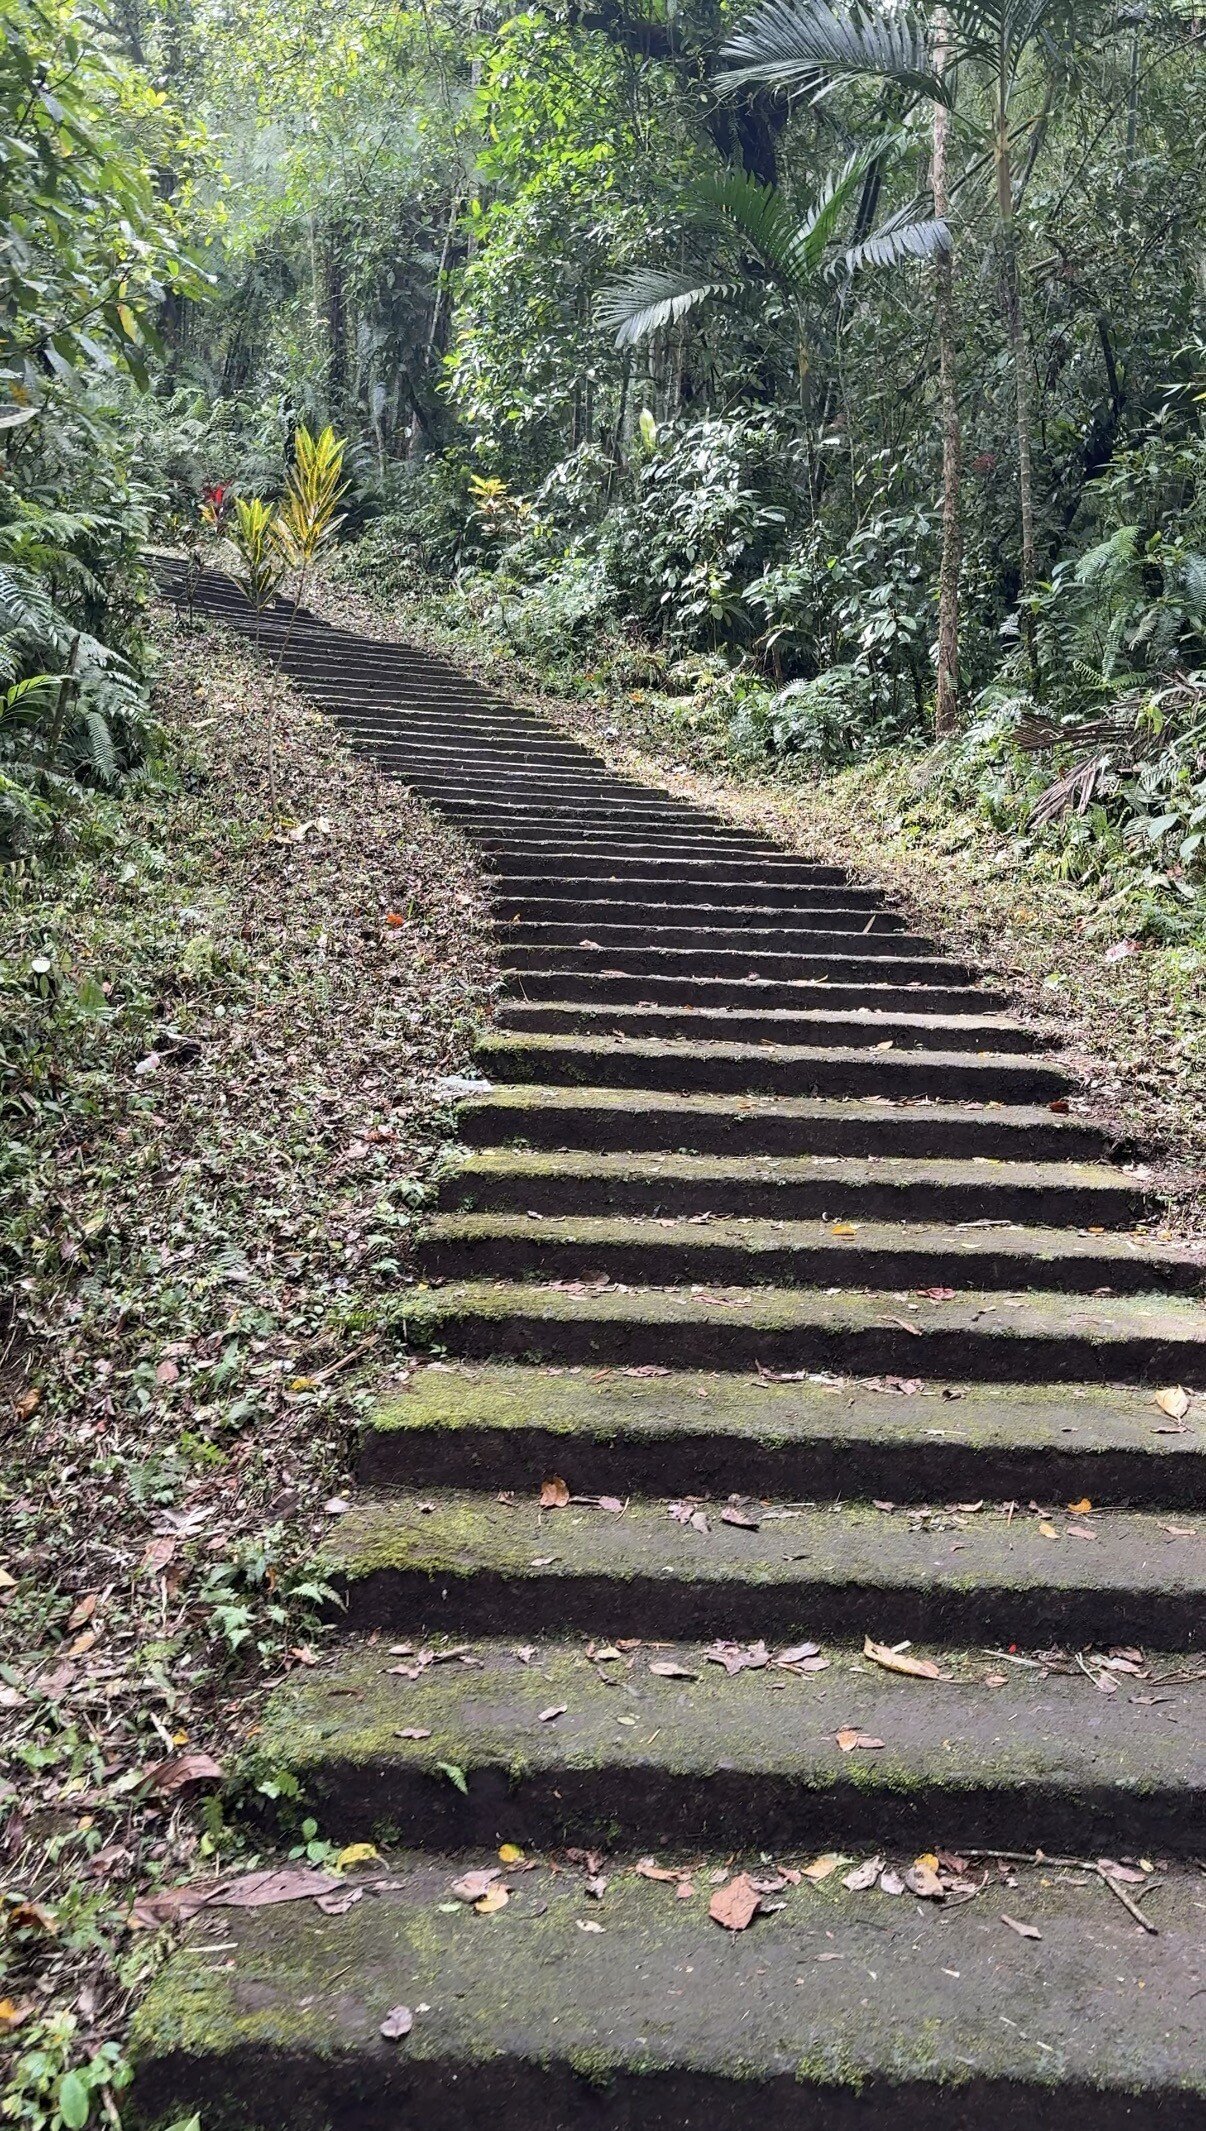
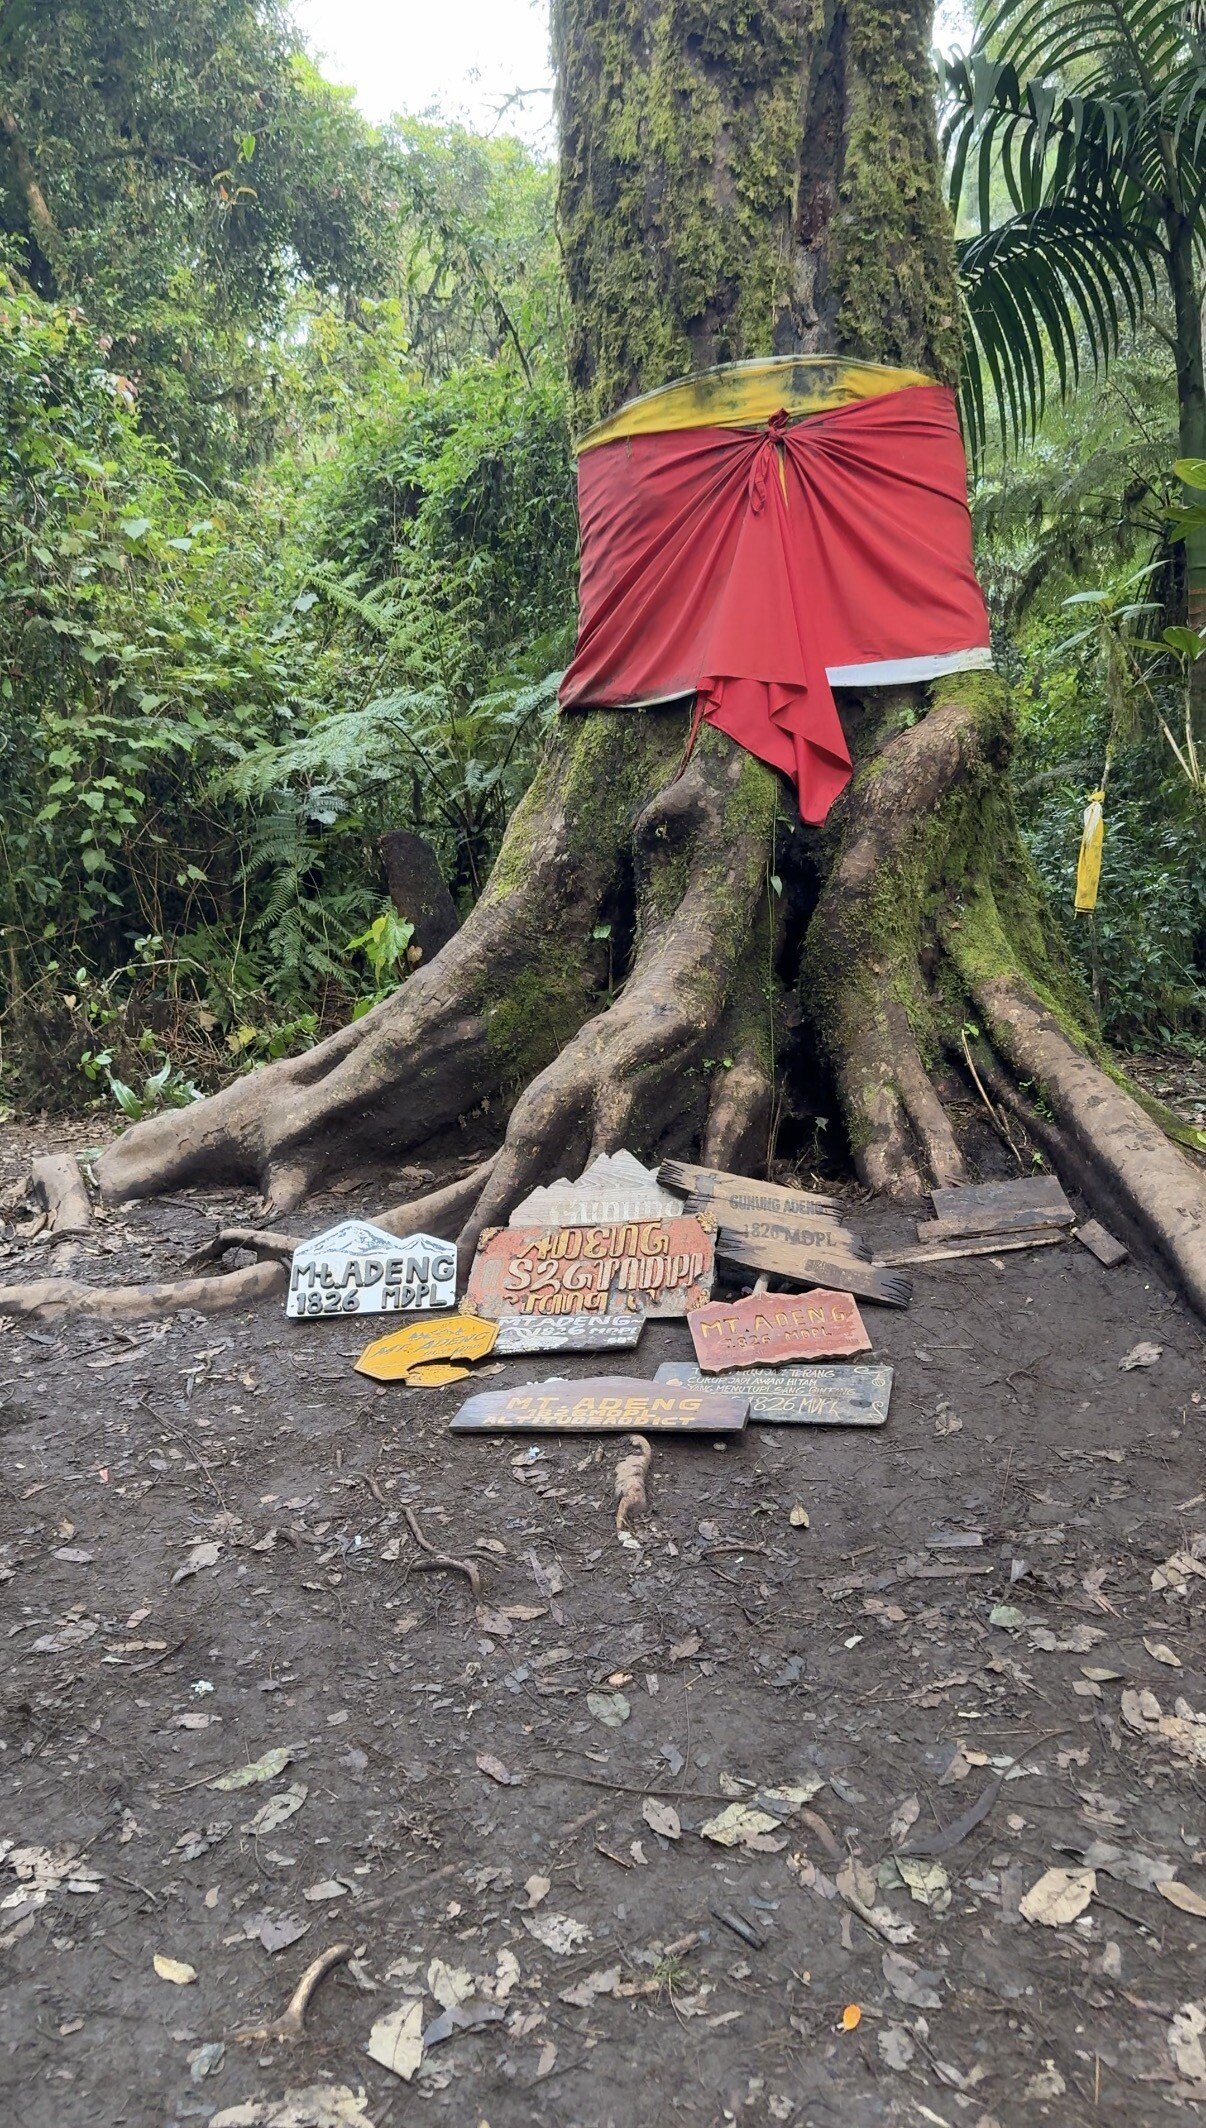
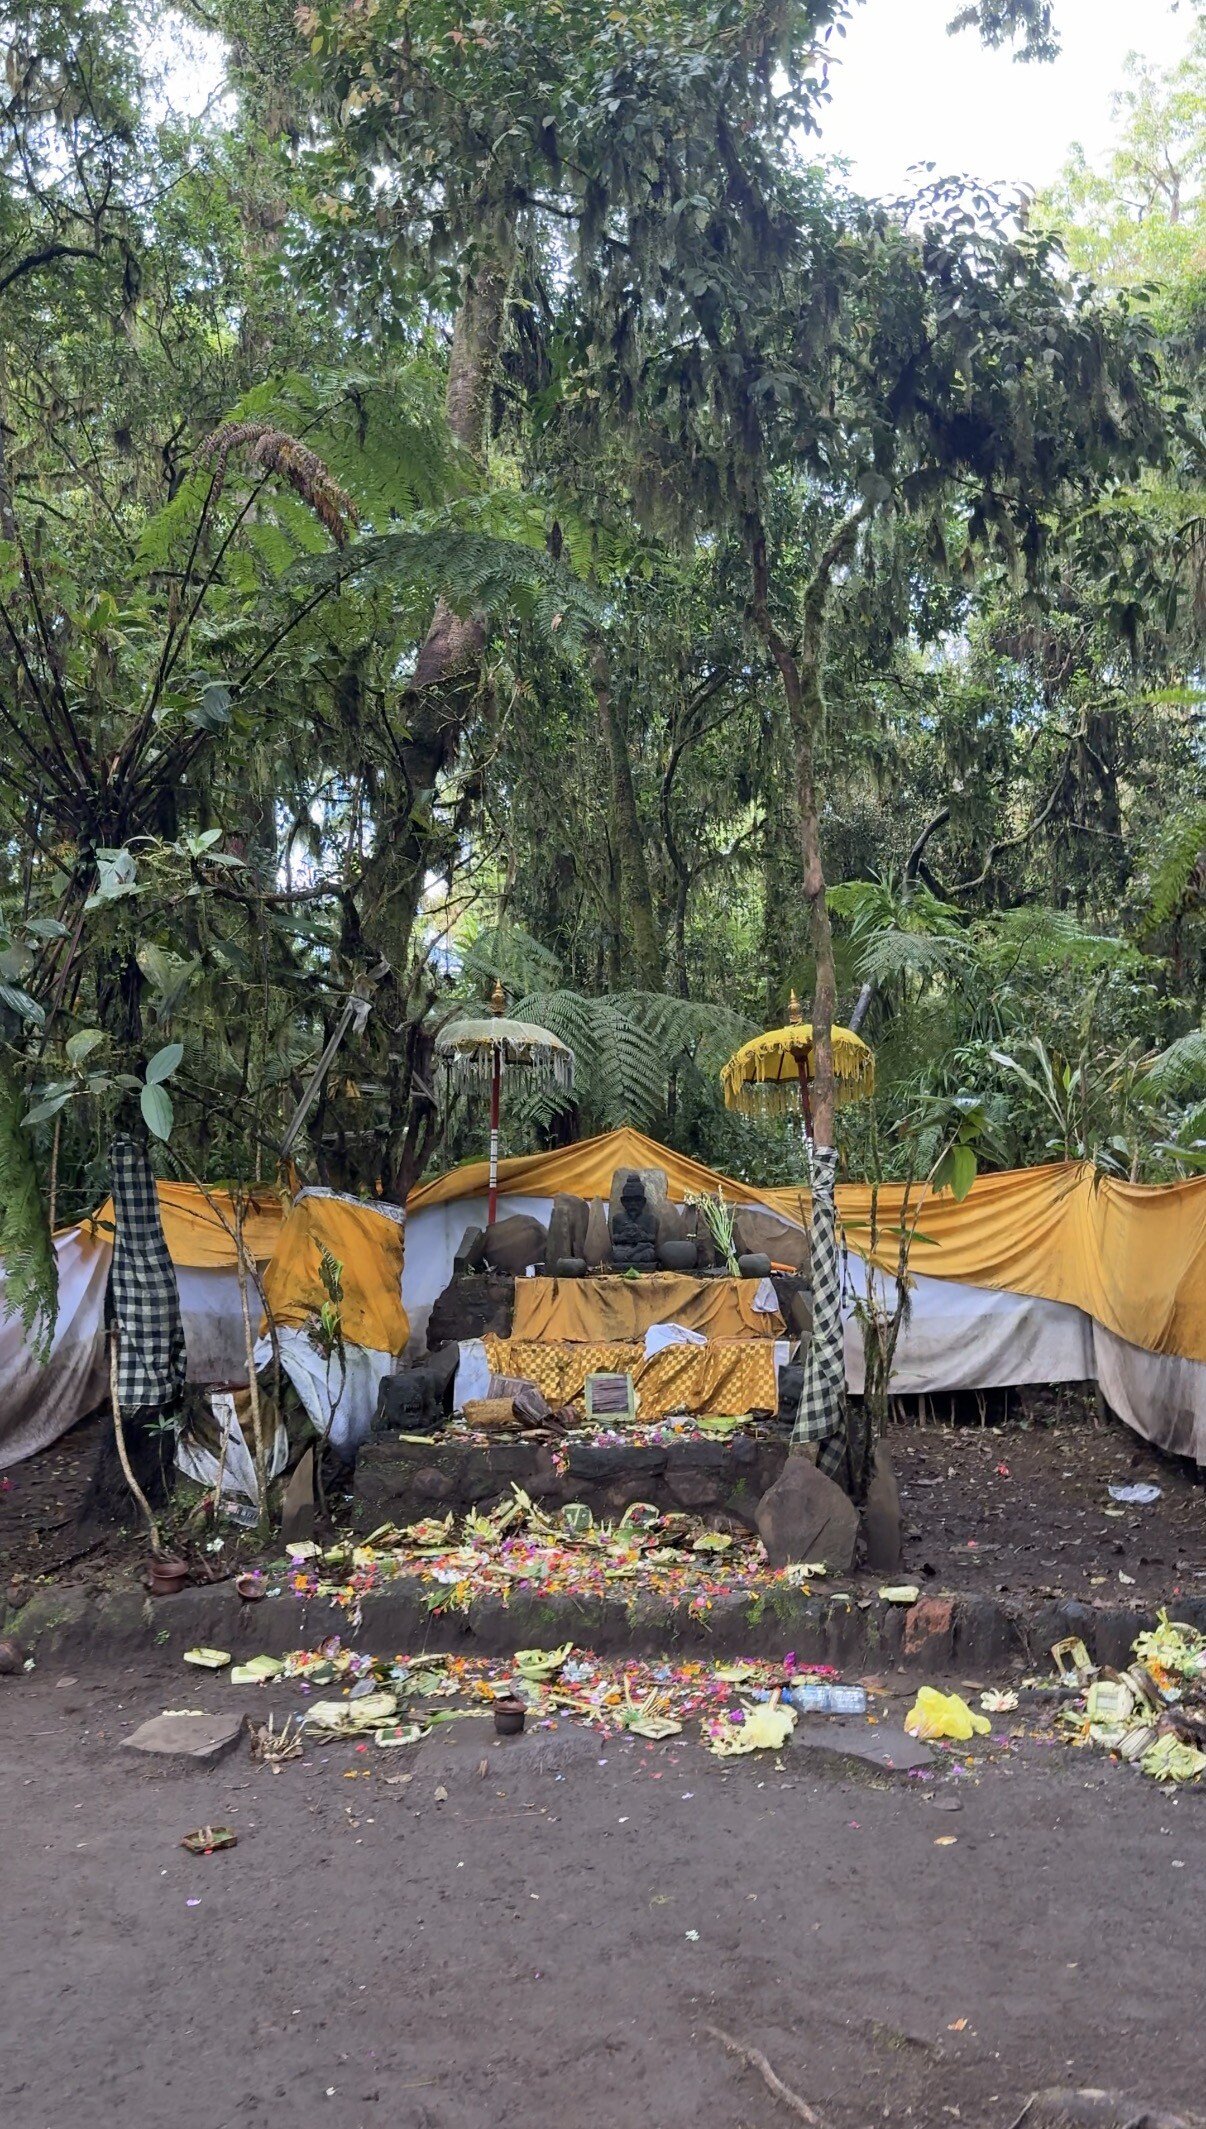
Photo: hawk086
The entrance to the forest looks like a barely visible “gap” in the thicket, nothing like a typical tourist trail. It’s easy to be the only person here all day: there are no tracks, there’s spiderwebs everywhere, and you’re constantly plagued by doubt—am I going the right way? Because there are lots of turn-offs and few people around, be sure to use Maps.me. Technically, the route isn’t difficult (effort-wise it’s comparable to Lesung), but it does require mental readiness for a completely wild forest.

The second option—more “civilised”—starts near The Blooms Garden flower park in Bedugul. Note that the entrance to the trail is outside the park, not inside—look for signs to the Pohen Hills campsite. This is also where the alternative route up the neighbouring Pohen begins, which I mentioned above. Parking at the start is much easier, there are toilets and cafés, and entry to the trail is a symbolic 20k rupiah.
The trail is clearer at the beginning here, but it still runs through dense tropical forest where it’s easy to lose your way because of junctions. Definitely use maps. The start is fairly gentle, but closer to the summit the slope becomes as steep as on other routes and gradually leads into the same dense cloud forest.
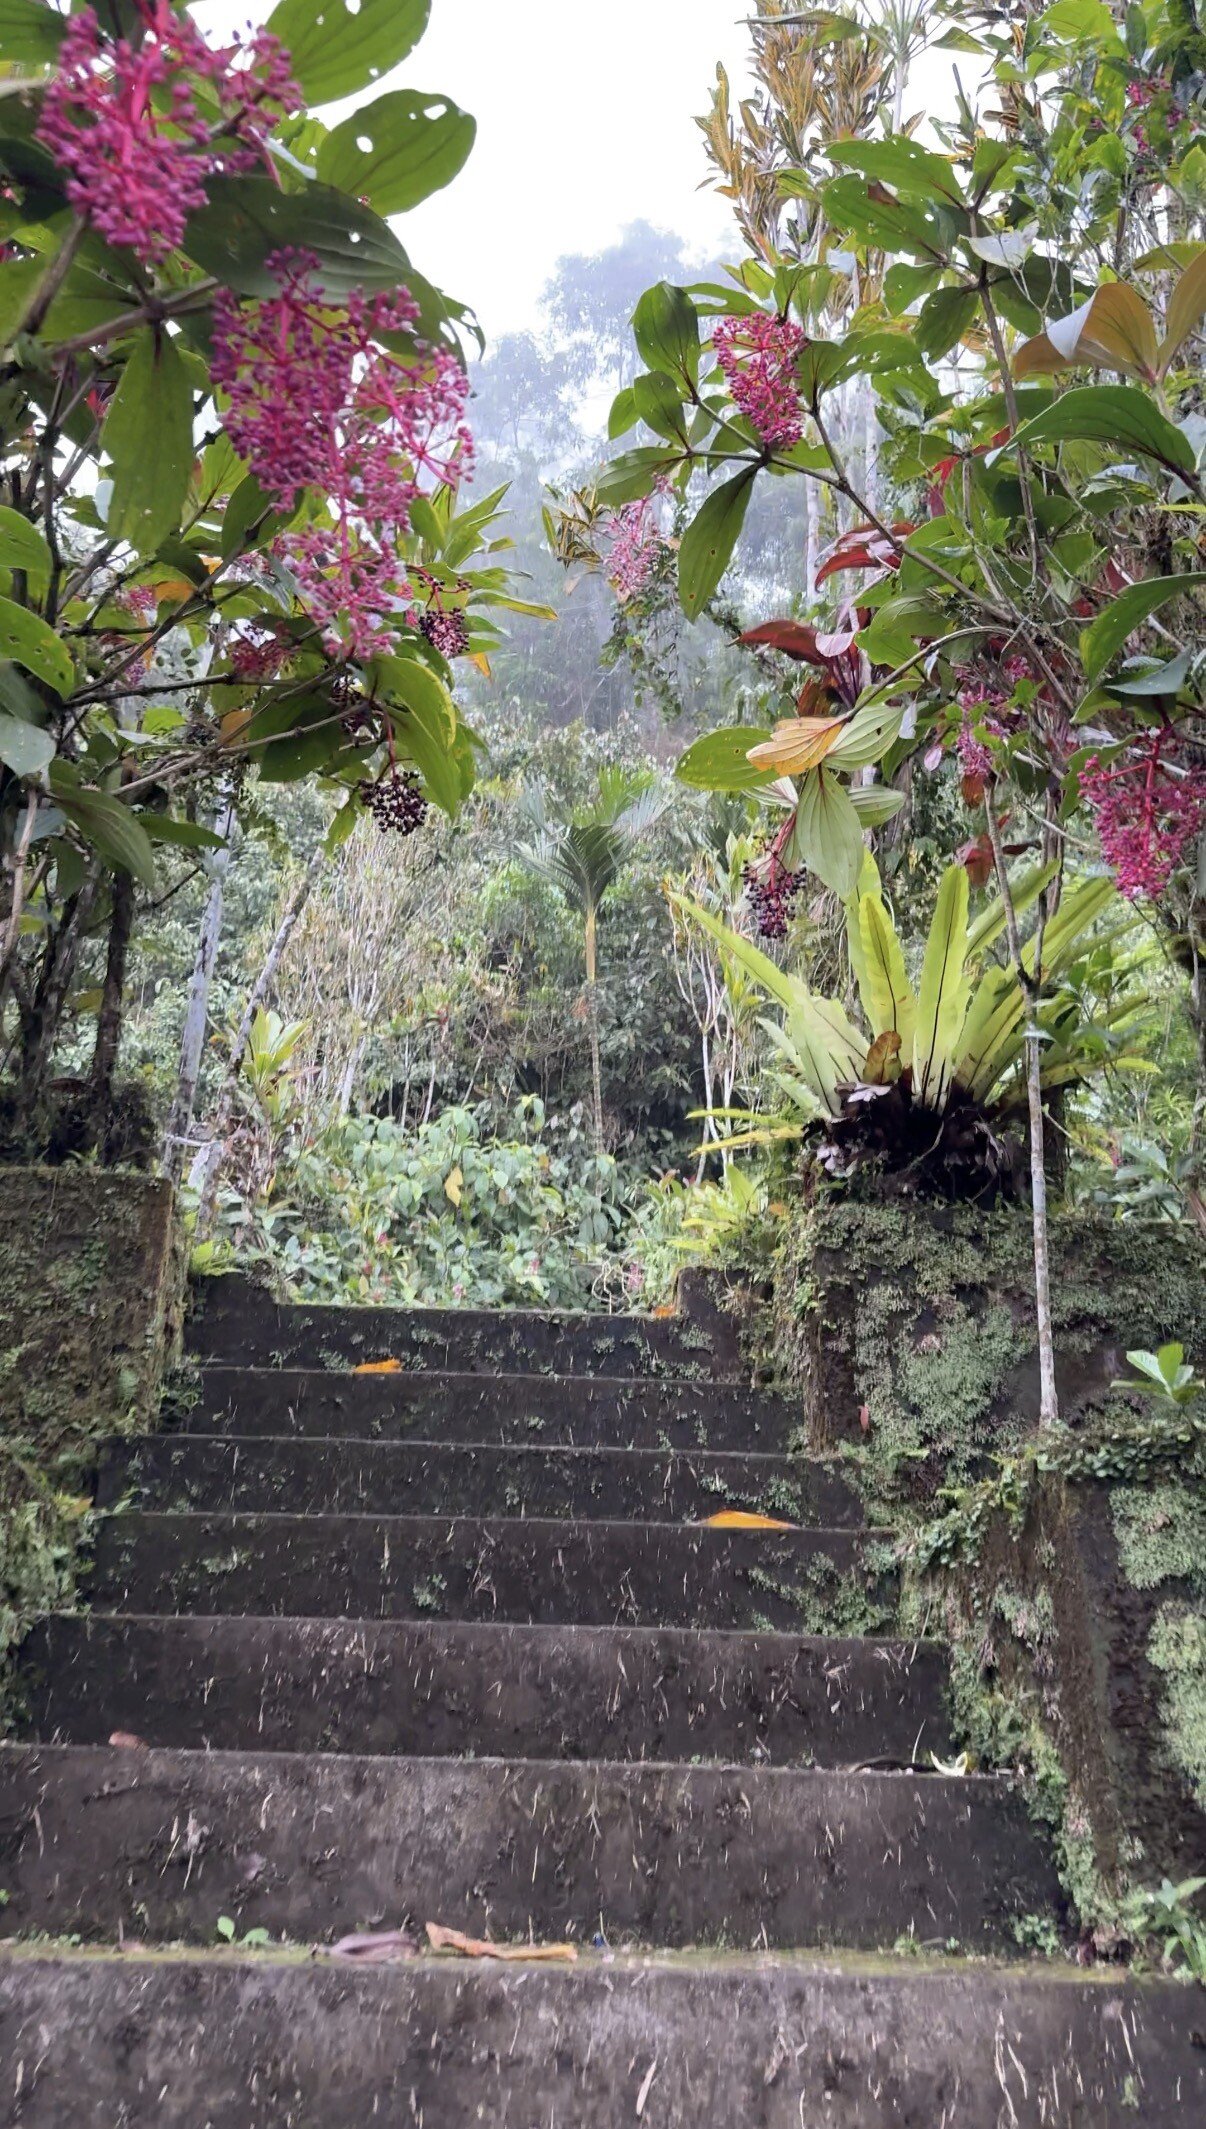
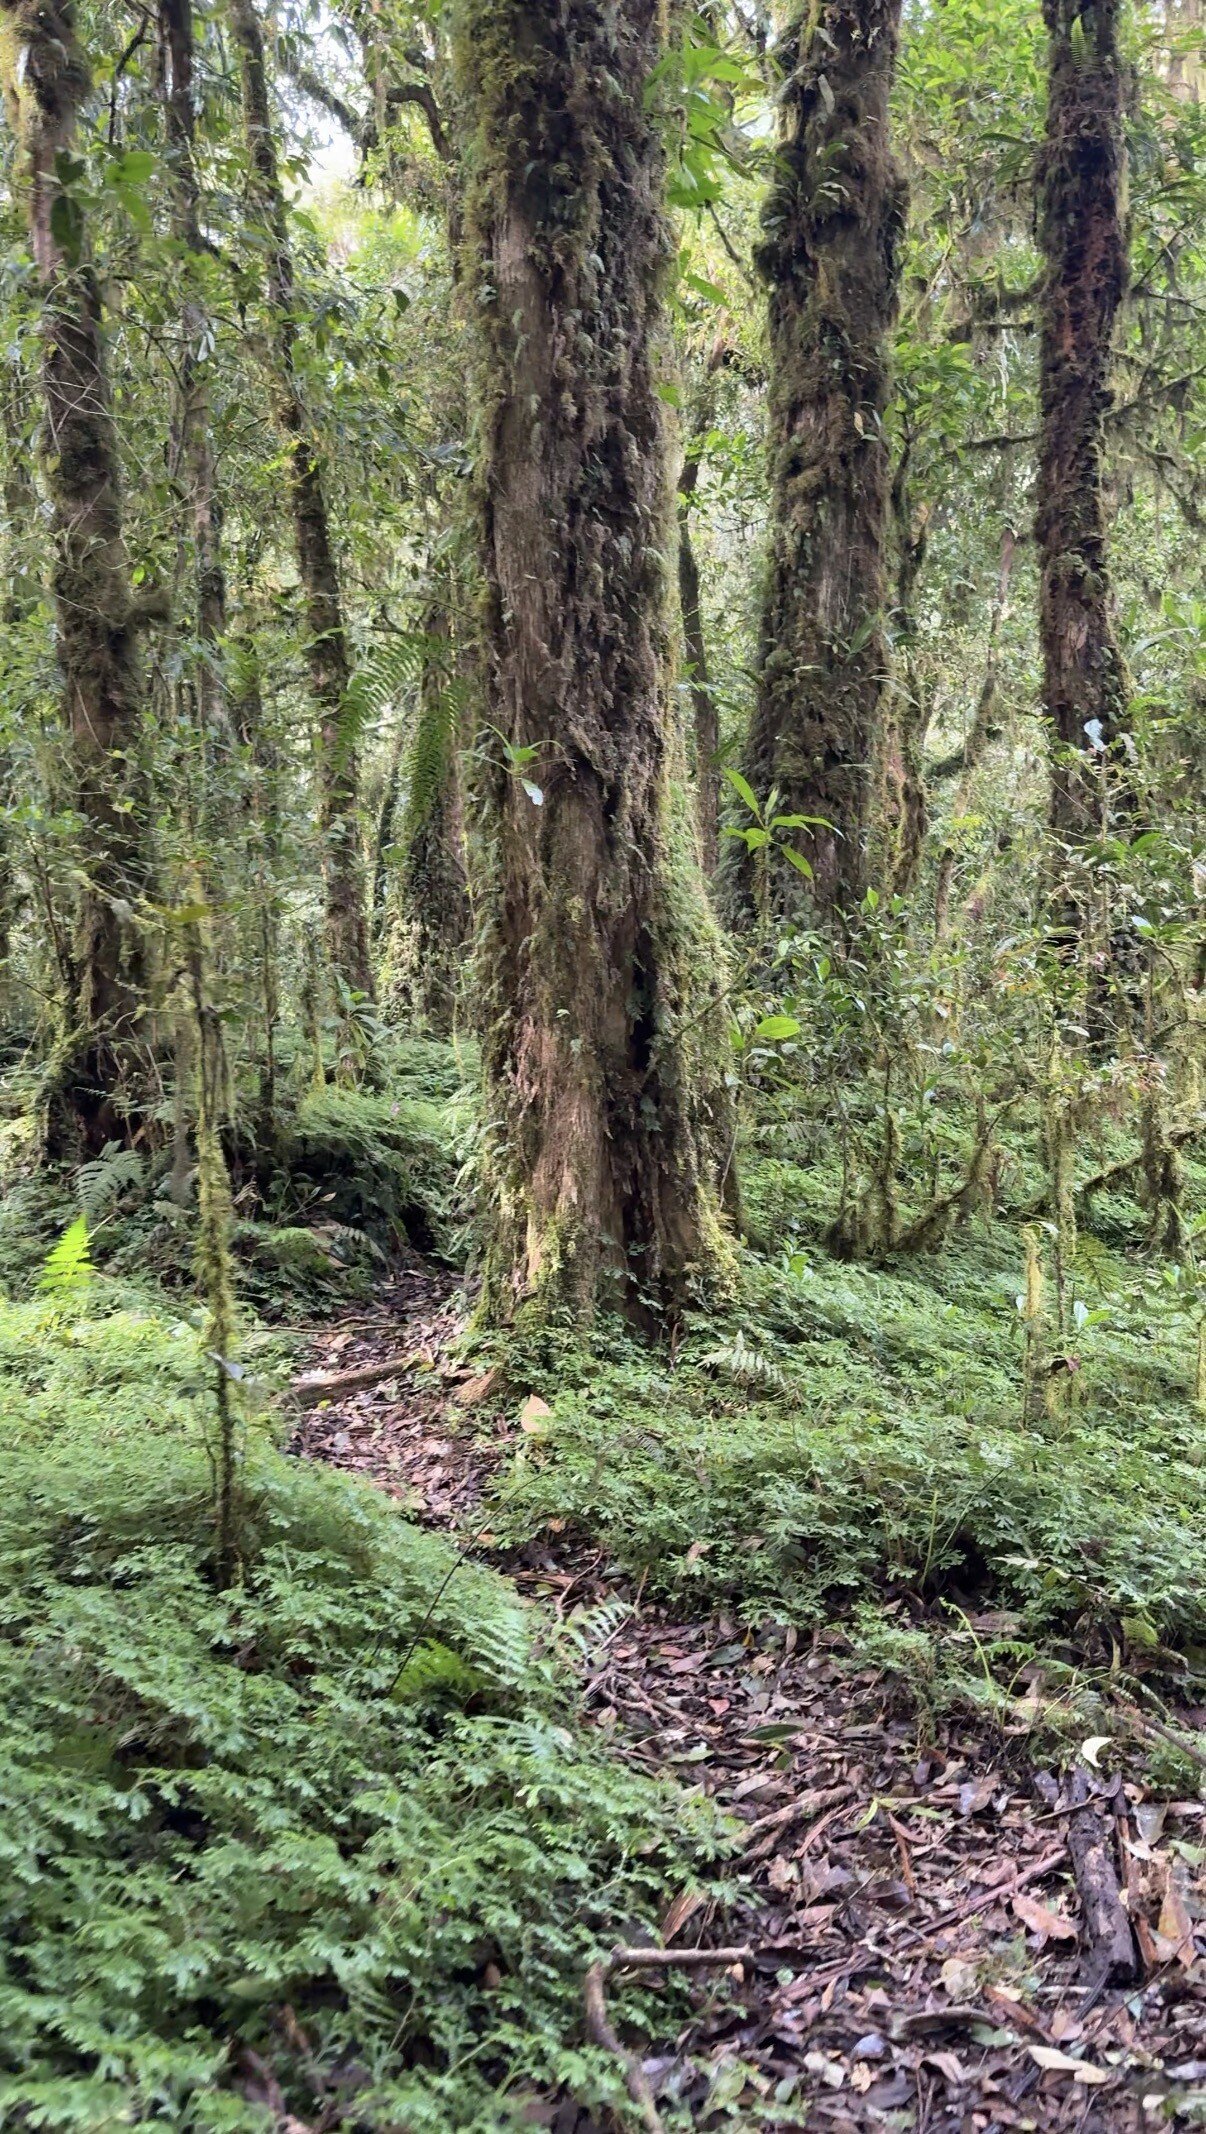
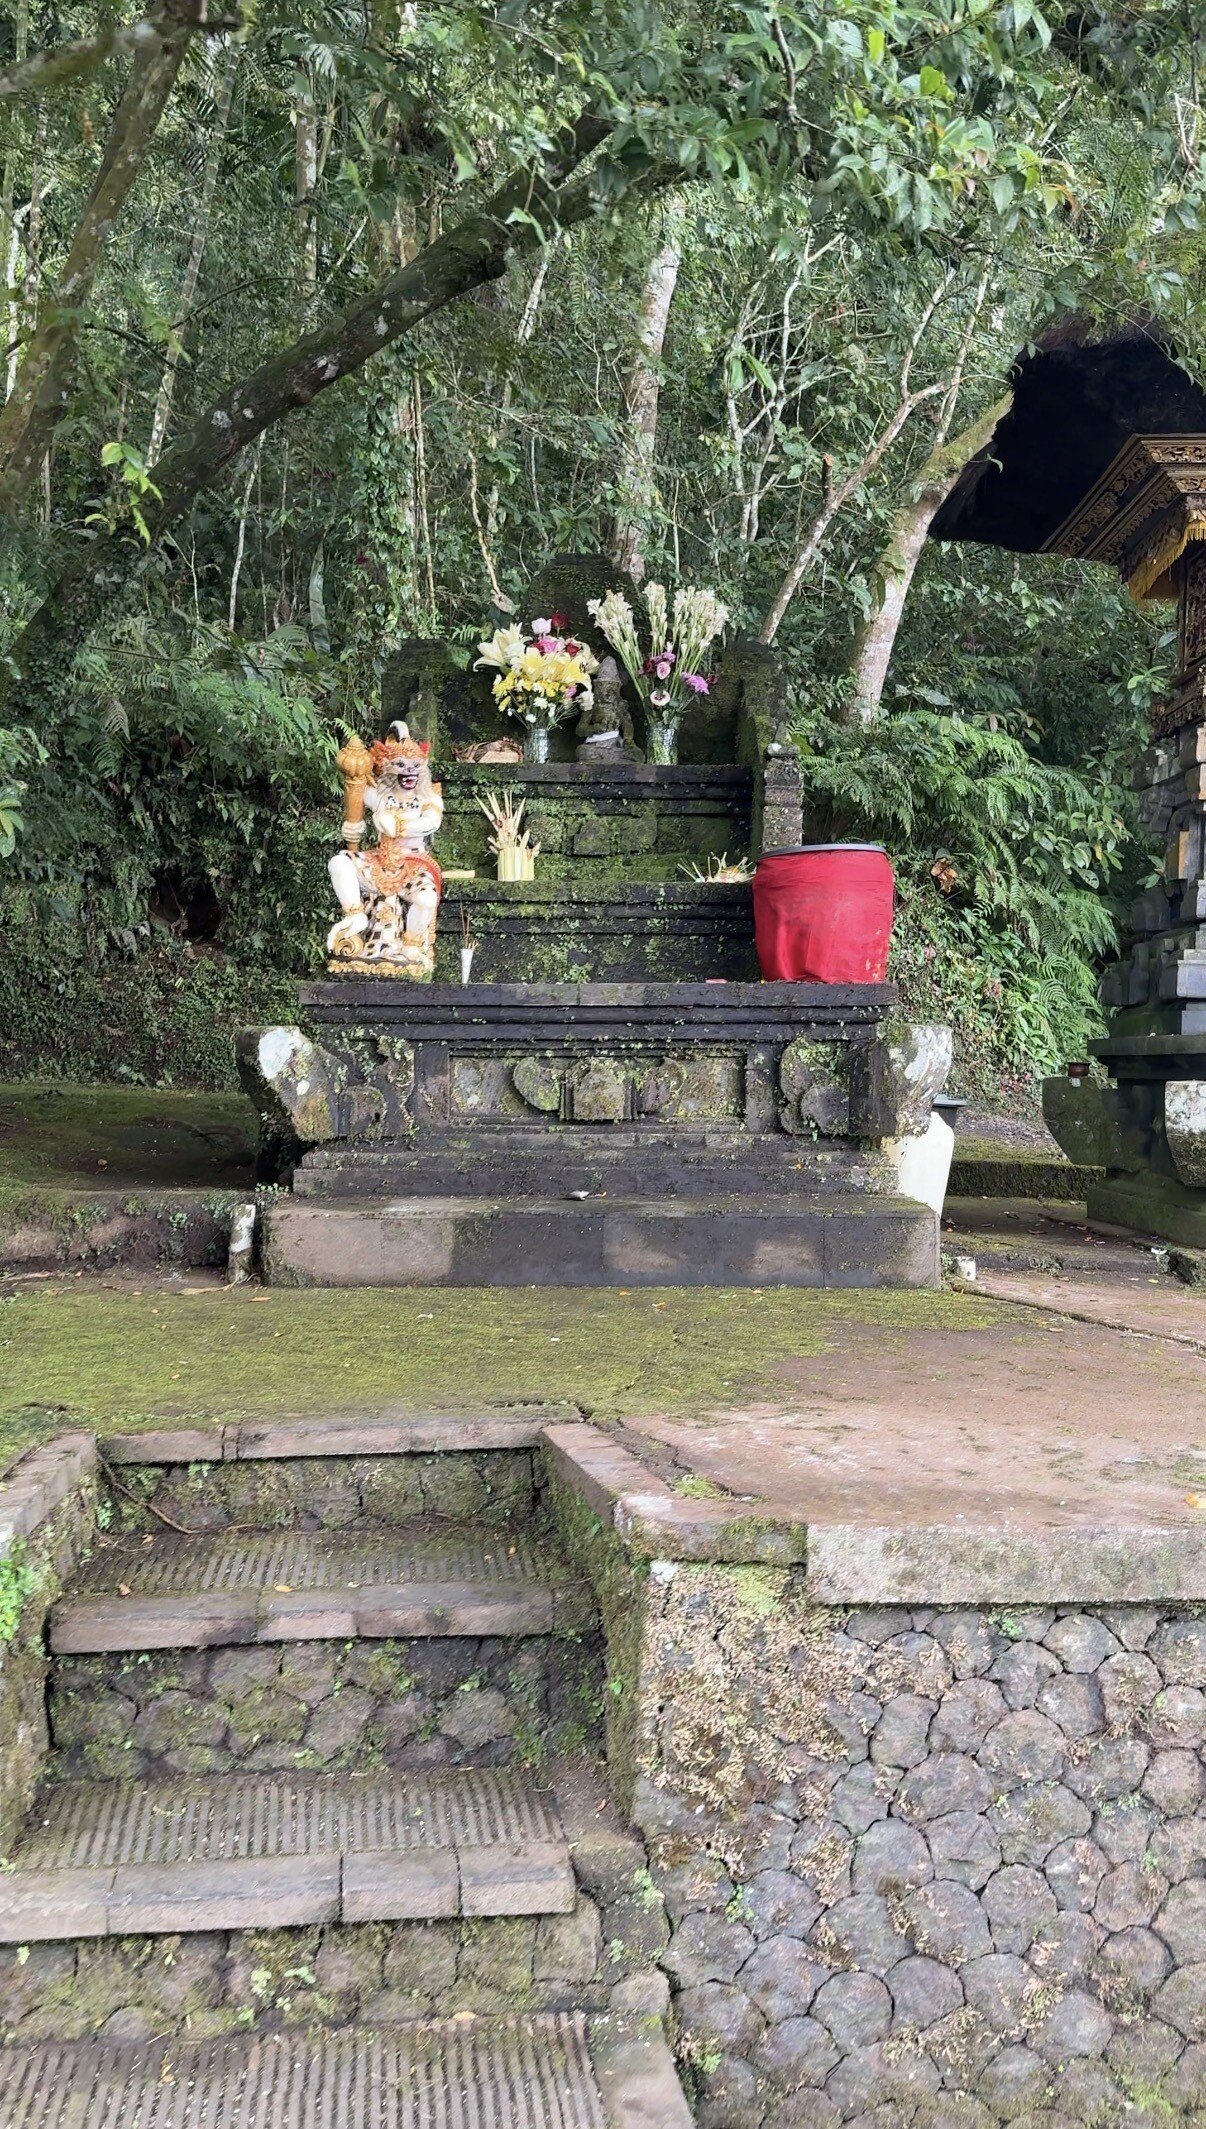
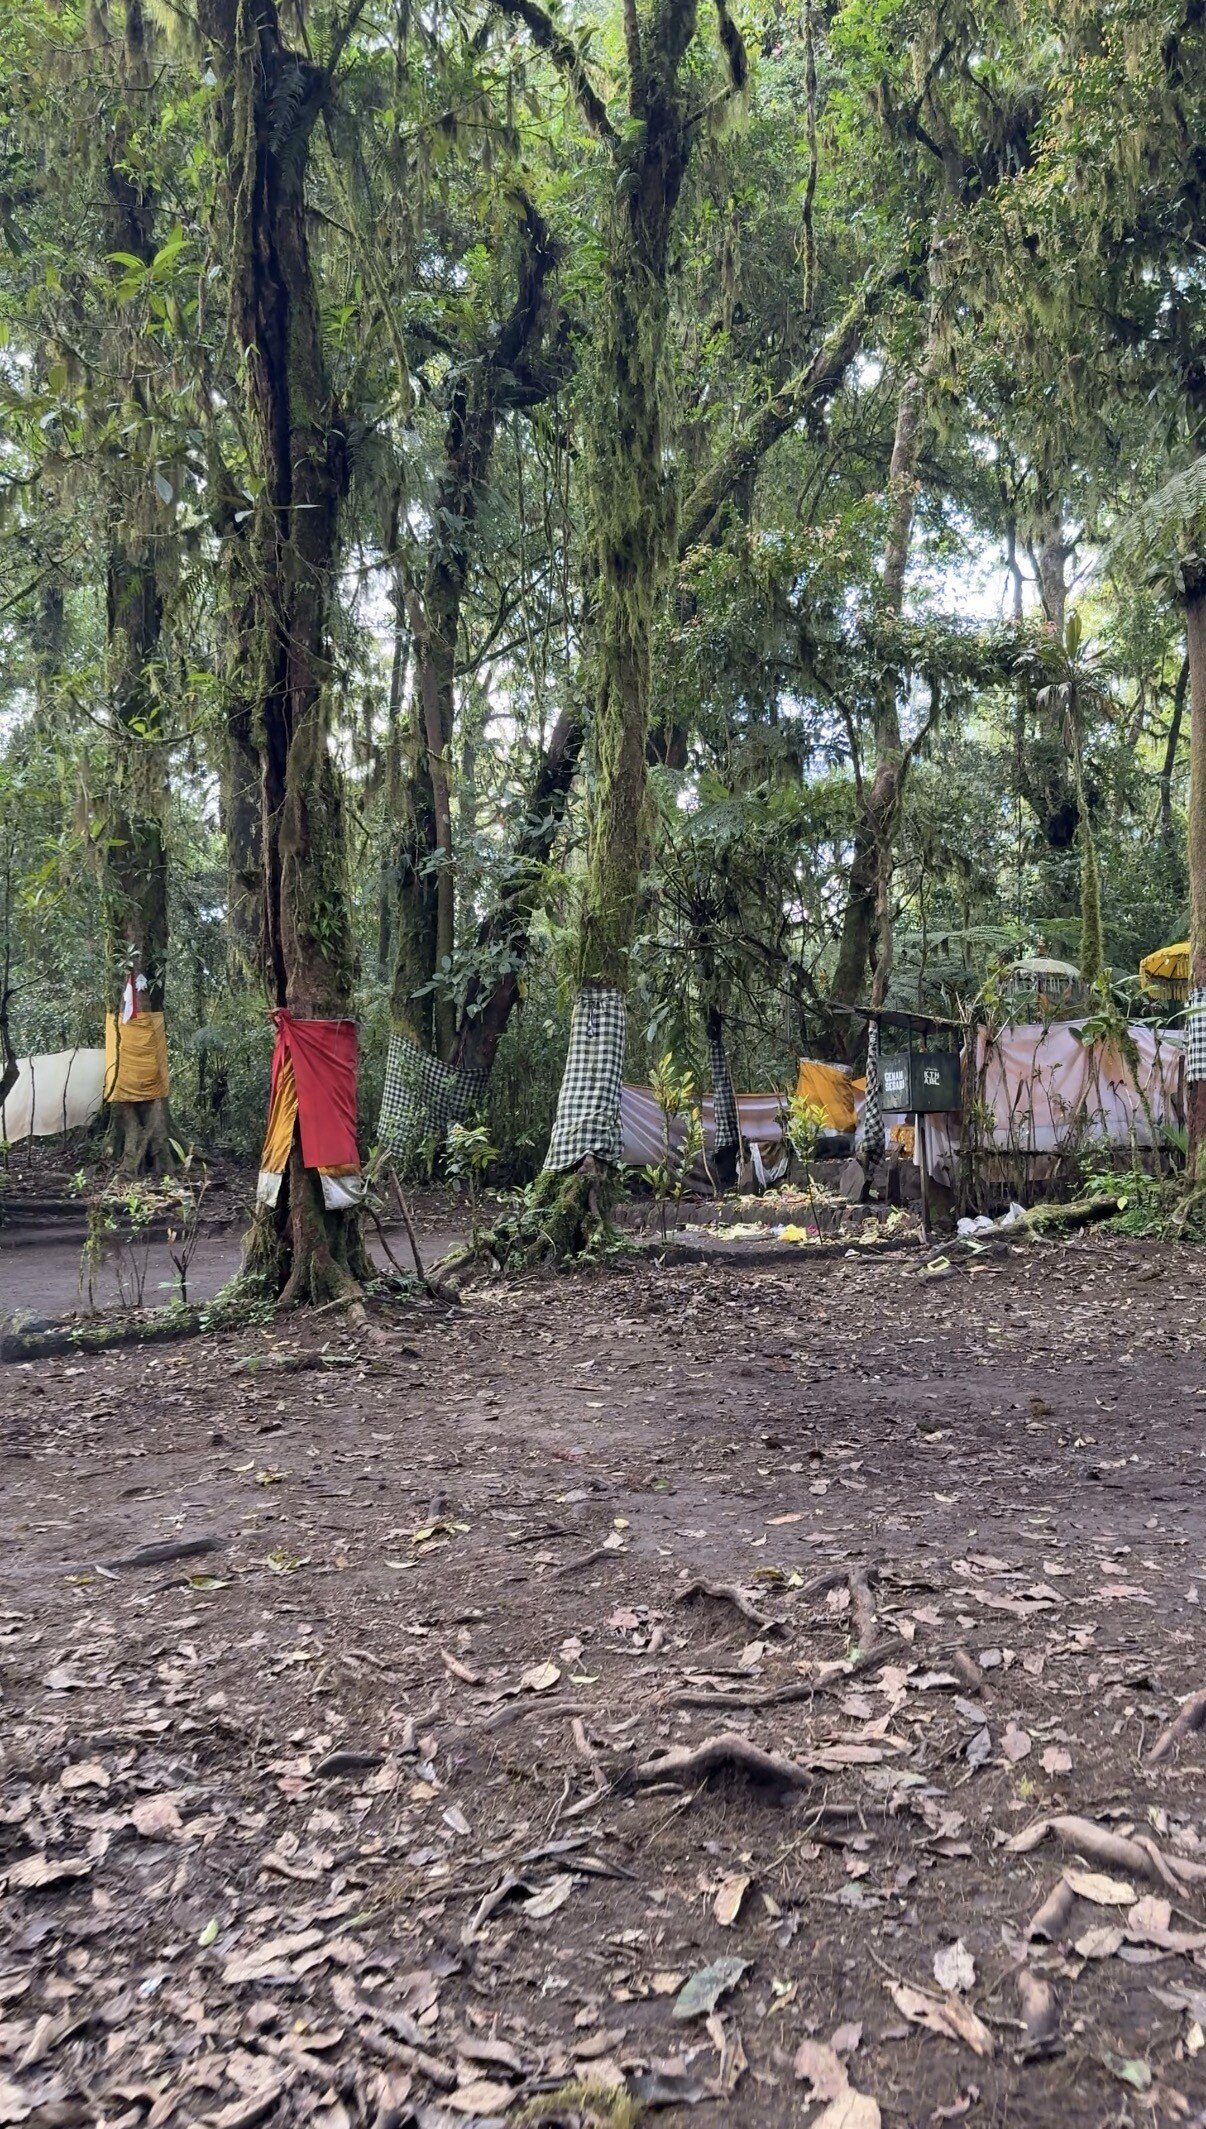
Photo: hawk086
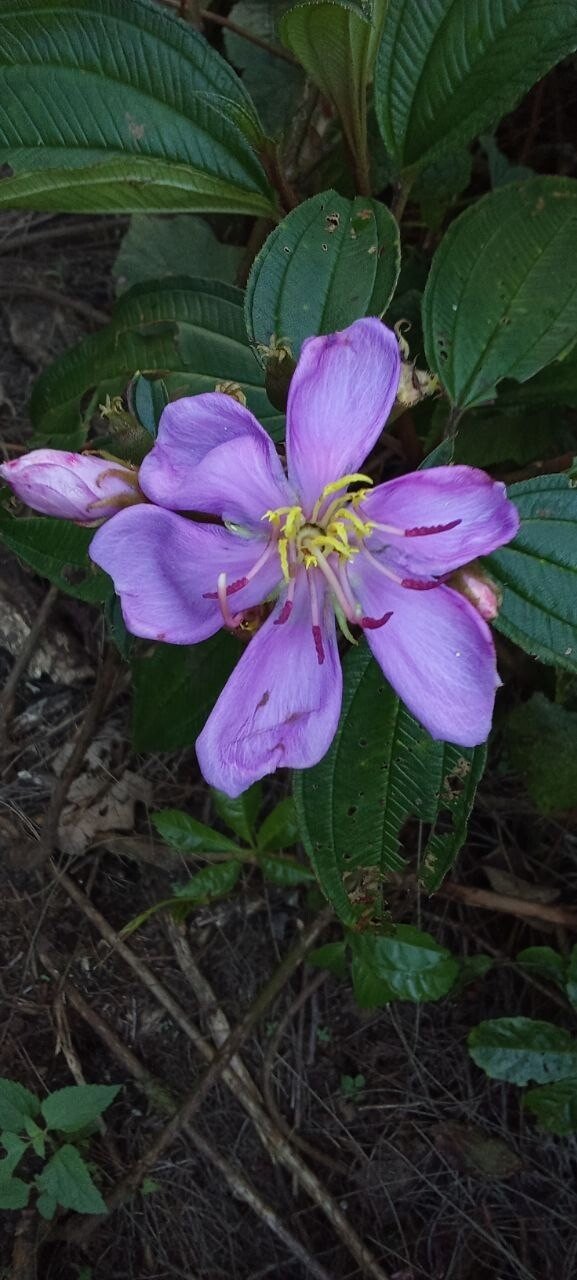
This climb is about overcoming fears and connecting with nature. Once you pass through the cloud layer, doubts usually disappear along with the mist. The ascent at a brisk pace takes around 1.5 hours, while an unhurried walk takes about four hours in total. The top is densely covered with trees, so there are no panoramic views from the summit. But the forest itself is incredibly clean and beautiful, and the lack of people creates a unique, almost meditative atmosphere.
There’s no point coming here for sunrise because the summit is thick forest. This route is for those who value the process, not the “picture”, and want to escape reality for a while. Just like Lesung, it’s a great choice for beginners, but navigation is trickier.
Remember that mountains don’t forgive carelessness: check the weather, protect your knees on the way down, and always trust your intuition. In difficult or unfamiliar places, support from an experienced guide is never a bad idea—it will make your hike calmer and help you understand the island’s traditions more deeply.
May every ascent become not just a physical effort, but a small personal discovery. Wishing everyone great and safe trekking. See you above the clouds!
You can add one right now!